基于 Gherkin 编写 PHP 代码
我们将需要 PHP 程序来表示我们使用 Gherkin 创建的功能和场景。Behat 框架将遵循我们在上一节中创建的功能和场景,但它也会查找代表每个功能和场景的 PHP 代码。在此 PHP 代码中,我们可以添加任何想要将功能和场景解释到程序中的自定义逻辑。创建 Behat 框架运行我们的功能和场景所需的以下文件:
-
首先,我们需要创建一个新的上下文类。Behat 使用上下文类在 PHP 程序中表示 Gherkin 功能。使用所示内容创建以下文件:
codebase/behat/features/bootstrap/HomeContext.php<?php use Behat\Behat\Tester\Exception\PendingException; class HomeContext implements \Behat\Behat\Context\Context { } -
然后,在创建
HomeContext.php类之后,我们还需要告诉 Behat 我们有一个新的上下文类。我们可以通过创建配置文件来做到这一点。创建以下文件,其中包含显示的内容:codebase/behat/behat.ymldefault: suites: default: contexts: - FeatureContext - HomeContext在这里,我们可以声明更多的 PHP 上下文类。默认情况下,你可以使用本章前面自动创建的
FeatureContext.php文件,但如果我们继续在FeatureContext.php类中添加不同的步骤,最后就会一团糟。 -
现在,让我们再次尝试运行 Behat,但这一次,我们将使用以下命令自动为
Given、When和Then步骤生成缺失的片段:/var/www/html/behat# ./vendor/bin/behat features/home.feature --append-snippets然后系统会提示您输入要使用的特定上下文类:
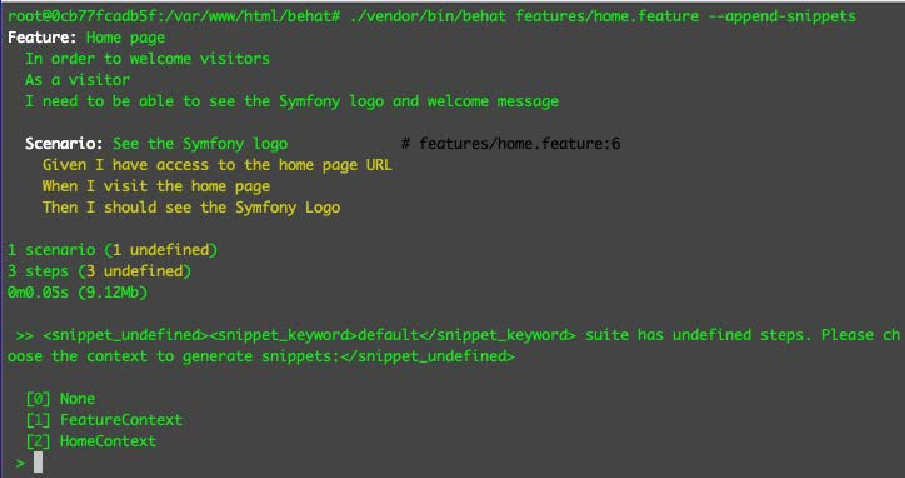 Figure 1. Figure 6.4 – Selecting a context class
 -
在 CLI 中输入 2,然后按 Enter。现在,您应该得到以下结果:
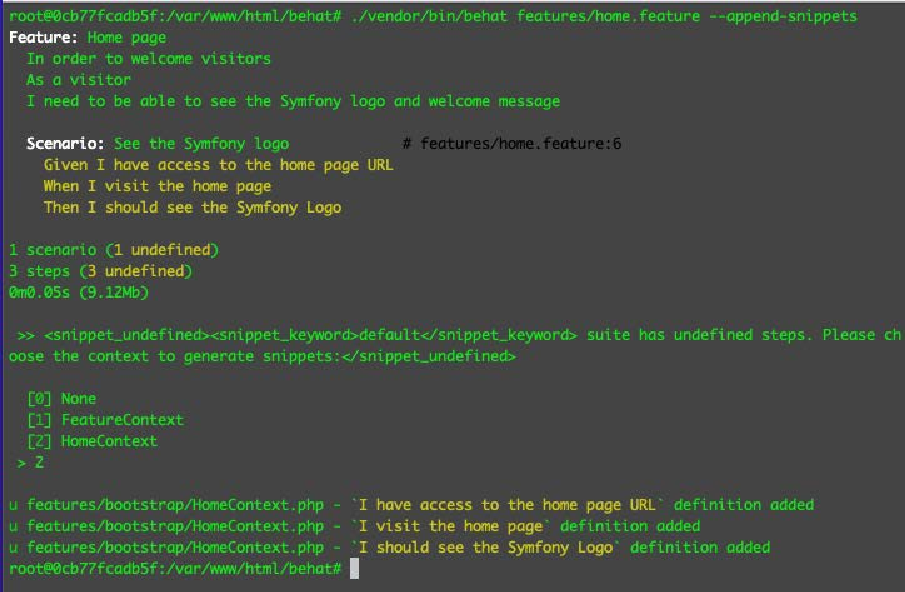 Figure 2. Figure 6.5 – Automatically generated snippets
Behat 已自动生成表示我们在
home.feature文件中定义的Give、When和Then步骤所需的 PHP 片段。 -
打开我们之前创建的
HomeContext.php类,您应该会看到自动生成的新方法:<?php use Behat\Behat\Tester\Exception\PendingException; class HomeContext implements \Behat\Behat\Context\Context { /** * @Given I have access to the home page URL */ public function iHaveAccessToTheHomePageUrl() { throw new PendingException(); } /** * @When I visit the home page */ public function iVisitTheHomePage() { throw new PendingException(); } /** * @Then I should see the Symfony Logo */ public function iShouldSeeTheSymfonyLogo() { throw new Exception(); } } -
在
iShouldSeeTheSymfonyLogo()方法中,将PendingException类替换为Exception类。 -
现在,让我们再次运行 Behat,看看我们得到什么:
/var/www/html/behat# ./vendor/bin/behat features/home.feature由于自动生成的代码片段返回
PendingException对象,因此我们将从 Behat 获得以下结果: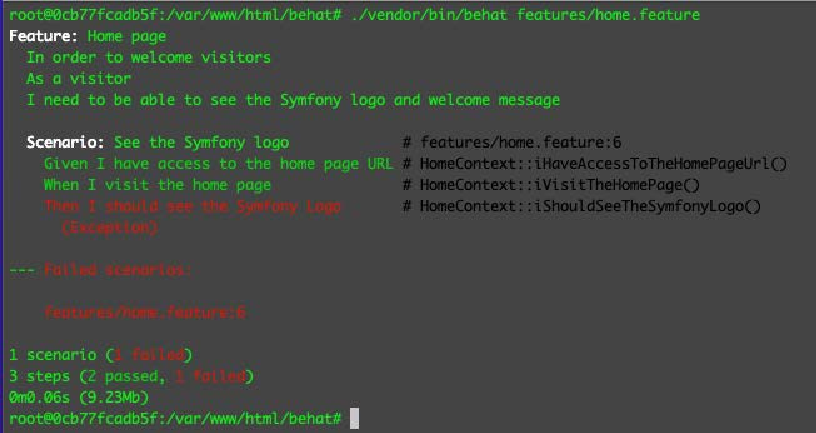 Figure 3. Figure 6.6 – Behat with automatically generated PHP snippets
现在我们应该能看到温暖而令人欣慰的测试失败信息了。到目前为止,我们已经能够使用 Gherkin 来定义我们的功能。然后,我们创建了一个单独的上下文类,用于存放 Behat 将执行的与我们使用 Gherkin 定义的 Given、When 和 Then 步骤相关的方法。然后,我们使用 Behat 自动生成这些方法。现在,如何让所有这些测试都通过呢?我们可以删除 iShouldSeeTheSymfonyLogo() 方法抛出的异常!正如你所看到的,这一切都是在 PHP 环境中进行的。但要真正通过测试,我们必须让 Behat 启动浏览器,访问主页 URL,并验证它是否能看到 Symfony 徽标。
那么,我们该怎么做呢?还记得我们之前安装的 Mink 吗?现在我们必须使用 Mink 和浏览器模拟器来完成浏览器的工作。