HTTP调用之编码实践
对于 HTTP 请求,读者应该都不陌生。打开浏览器,在地址栏中输入一个正确的网址即可获得响应内容,如图 5-5 所示。
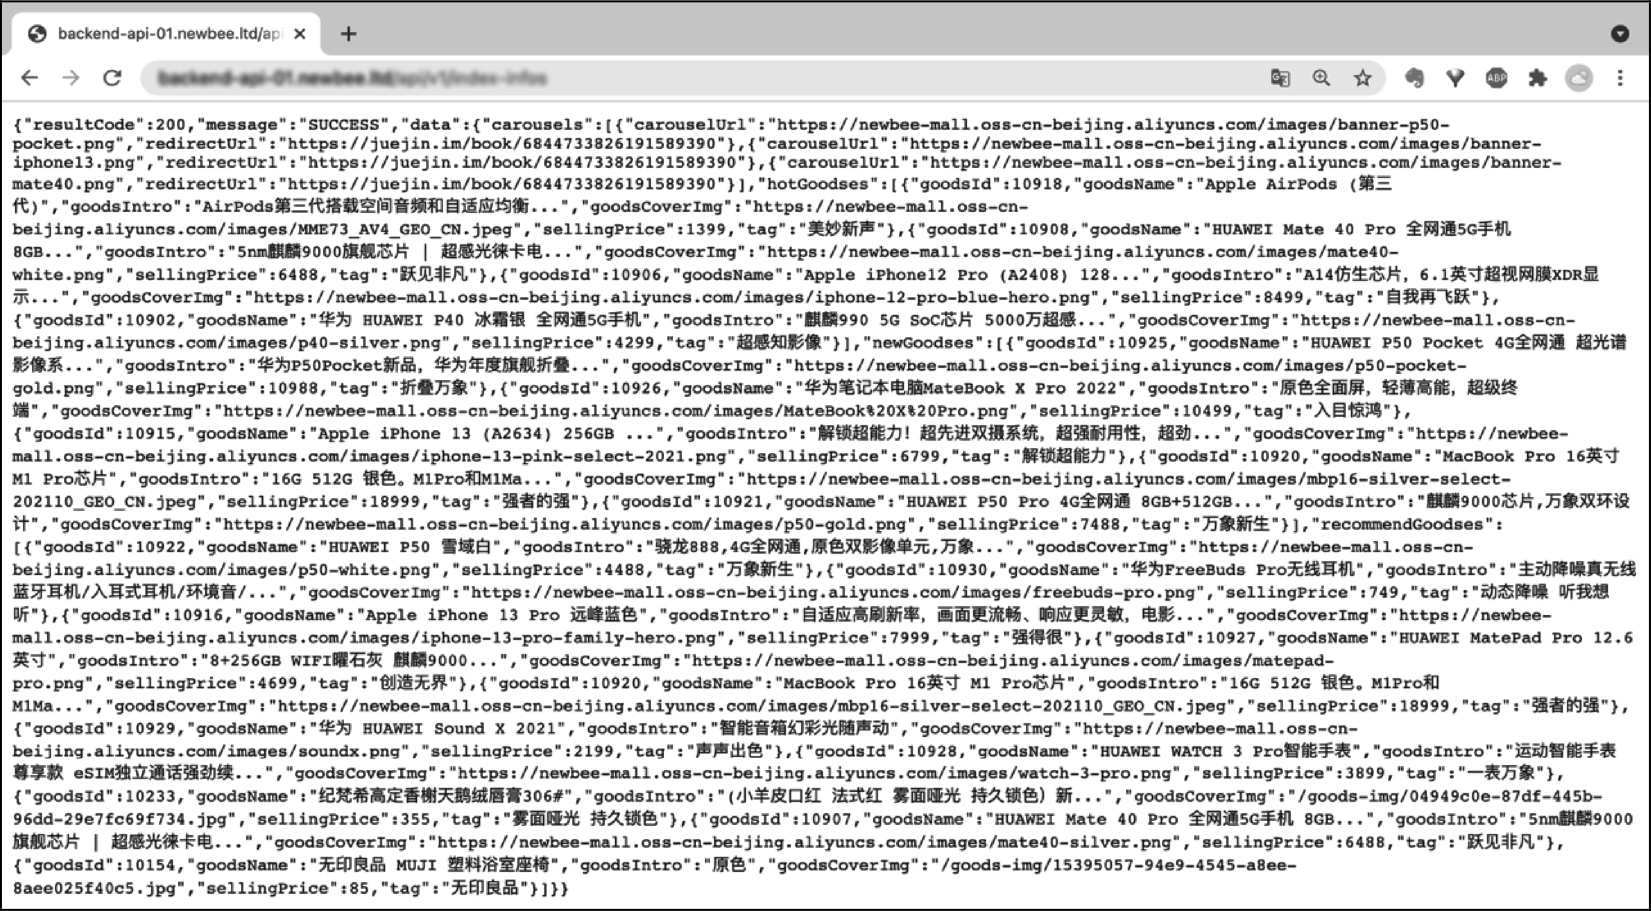
在实际的服务调用中肯定不会返回一个页面,而是返回接口的响应内容,比较常见的是 JSON 格式的字符串,如图 5-6 所示。
那么不借助浏览器,在 Java 代码中该如何处理呢?接下来通过几个代码示例讲解在 Java 代码中如何发起 HTTP 请求和处理 HTTP 响应结果。
被调用端编码实现
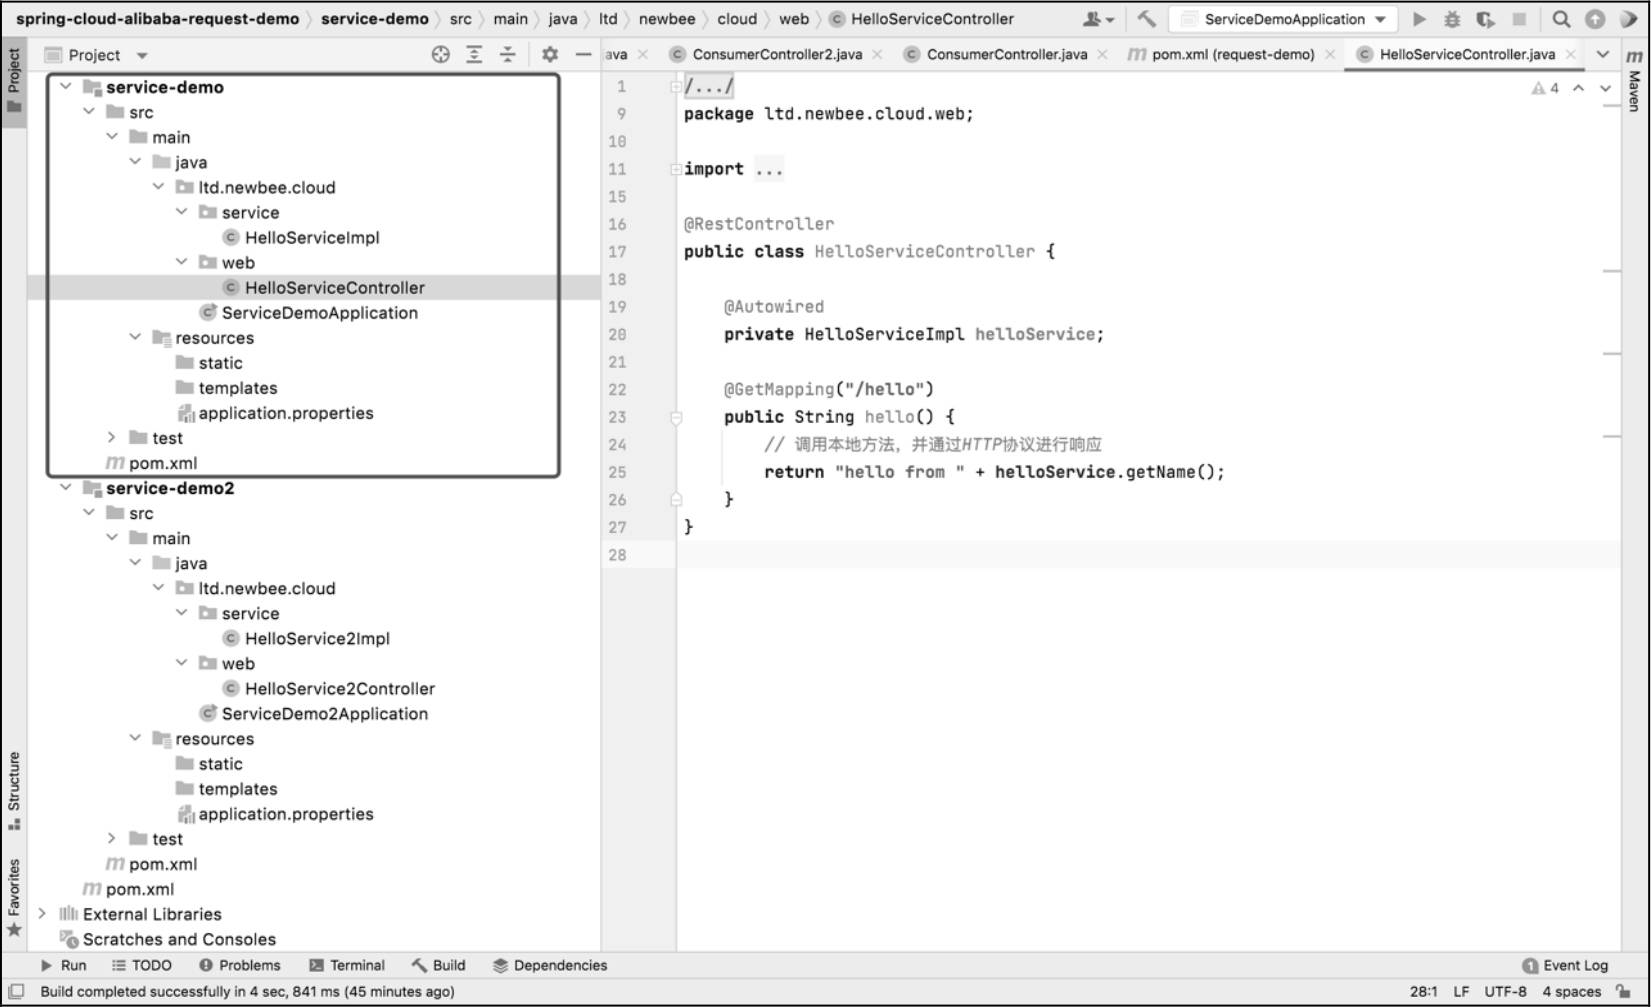
先创建一个名称为 service-demo 的 Spring Boot 实例项目,将端口号设置为 8081,然后分别创建 ltd.newbee.cloud.service 包和 ltd.newbee.cloud.web 包,用于分别存放业务层实现类和 REST 层的 Controller 类。
在 ltd.newbee.cloud.service 包中新建 HelloServiceImpl 类,代码如下:
package ltd.newbee.cloud.service;

import org.springframework.stereotype.Component;

@Component
public class HelloServiceImpl {

    public String getName() {
        return "service01";
    }
}
定义了 getName() 方法,该方法的作用是返回一个字符串。
在 ltd.newbee.cloud.web 包中新建 HelloServiceController 类,代码如下:
package ltd.newbee.cloud.web;

import ltd.newbee.cloud.service.HelloServiceImpl;
import org.springframework.beans.factory.annotation.Autowired;
import org.springframework.web.bind.annotation.GetMapping;
import org.springframework.web.bind.annotation.RestController;

@RestController
public class HelloServiceController {

    @Autowired
    private HelloServiceImpl helloService;

    @GetMapping("/hello")
    public String hello() {
        // 调用本地方法,并通过 HTTP 进行响应
        return "hello from " + helloService.getName();
    }
}
HelloServiceController 类使用 @RestController 注解,并不会返回视图对象。该类中定义了 hello() 方法,映射地址为 /hello,在访问该地址后会返回一个字符串给调用端。
本节的代码主要用于功能展示,并没有演示复杂的功能逻辑。
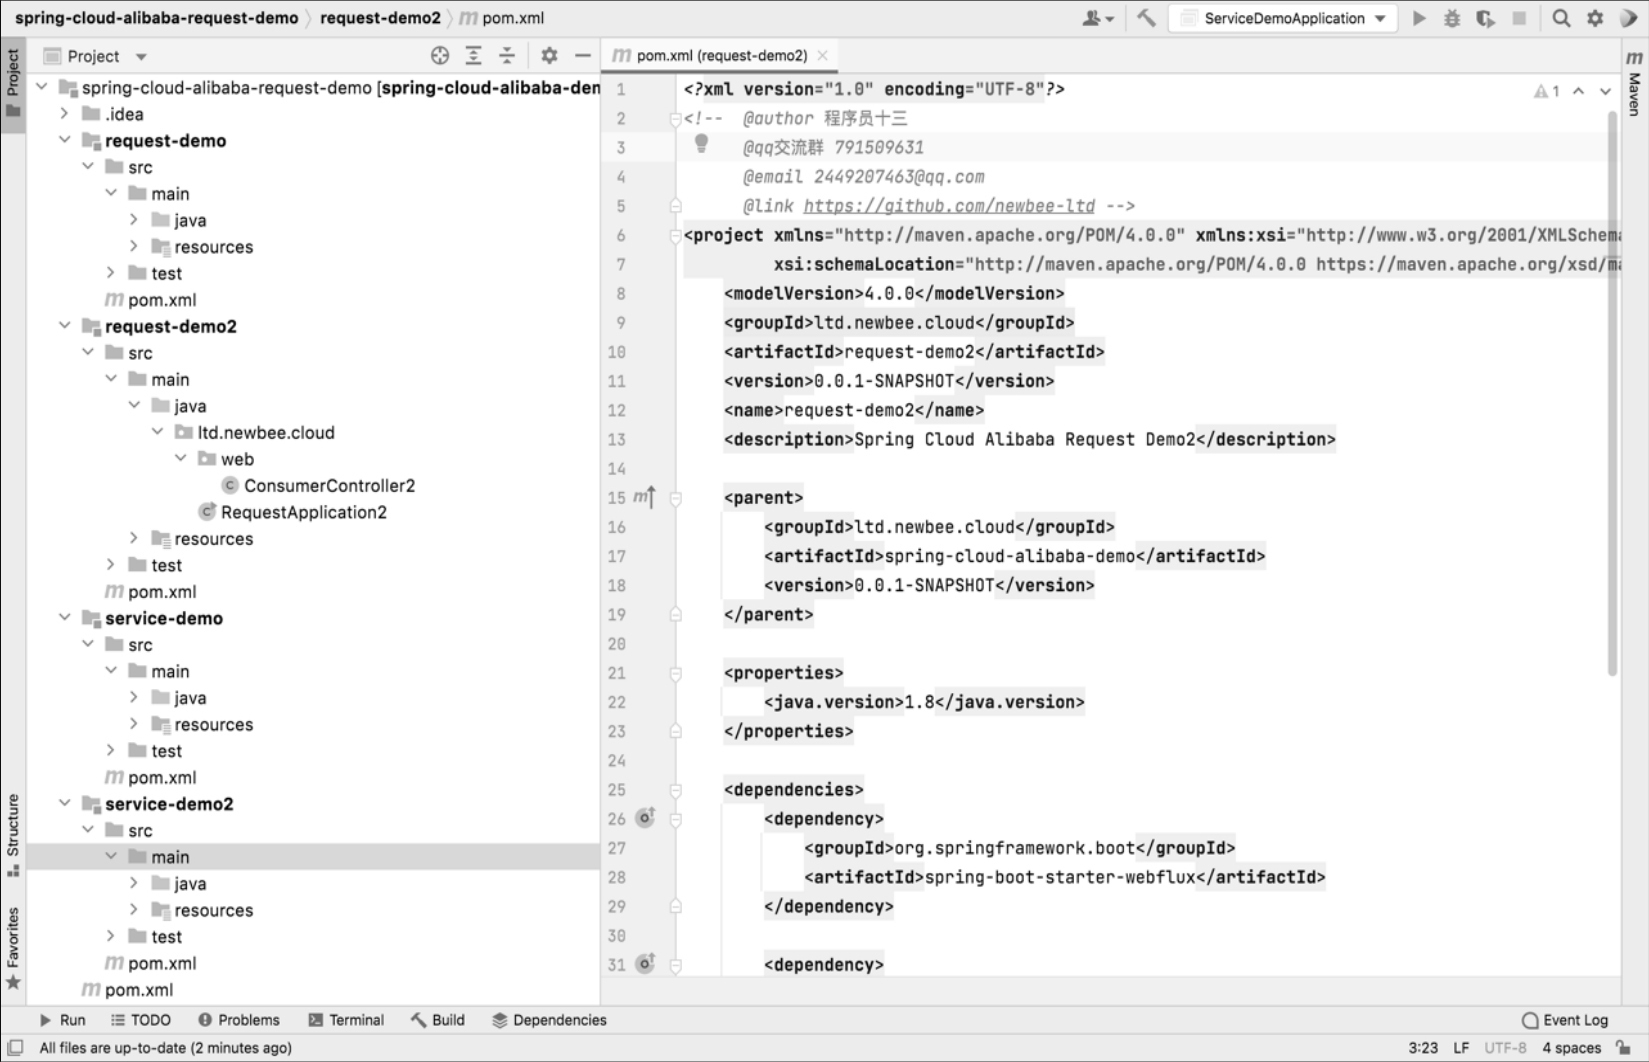
接下来复制 service-demo 为 service-demo2,并修改类名和配置文件中的端口号。这样就有了两个被调用端的实例,代码结构如图 5-7 所示。
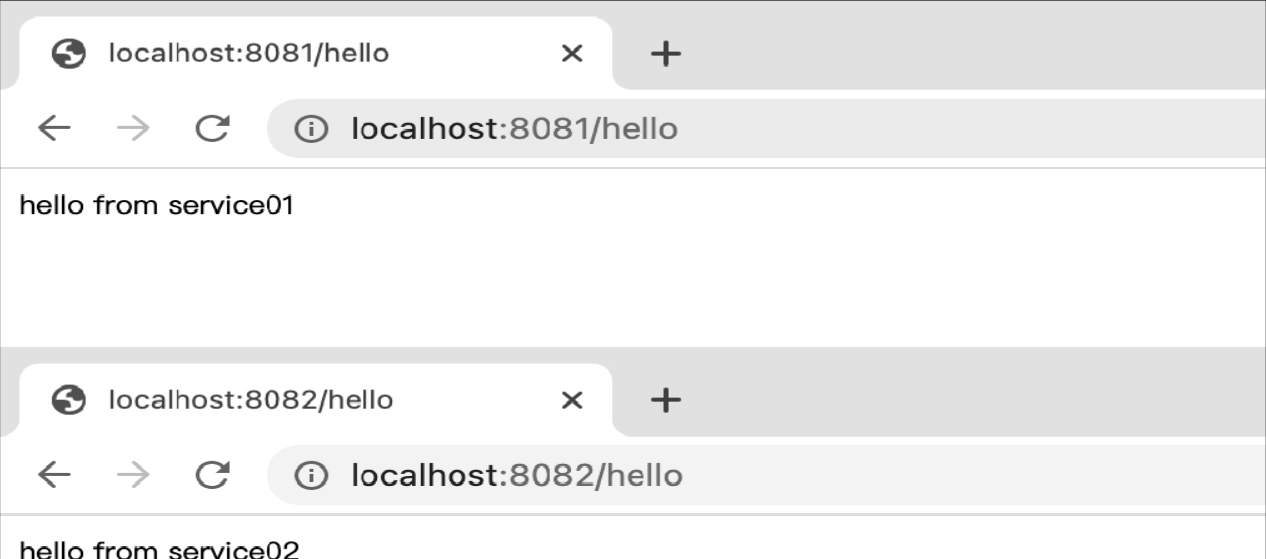
编码完成后分别启动两个实例,启动成功后,可以分别访问两个接口地址:
http://localhost:8081/hello
http://localhost:8082/hello
如果项目中没有报错,并且访问结果如图 5-8 所示,则编码完成。
被调用端的编码和验证都已经完成。下面编写调用端的代码。
在 Java 项目开发中,向其他服务发起 HTTP 调用是常见的功能需求,编码实现时需要使用客户端工具或第三方提供的 HTTP 开发包。有很多常用的 HTTP 开发包供开发人员选择,如 Java 自带的 HttpUrlConnection 类、HttpClient 工具包、Spring 提供的 RestTemplate 工具和 WebClient 工具。
笔者将分别使用 HttpClient、RestTemplate、WebClient 来演示它们是如何对 HTTP 请求进行处理的。
使用HttpClient处理请求
新建一个名称为 request-demo 的 Spring Boot 实例项目,将端口号设置为 8083。在 pom.xml 文件中添加 httpclient 的依赖配置,代码如下:
<dependency>
  <groupId>org.apache.httpcomponents</groupId>
  <artifactId>httpclient</artifactId>
</dependency>
之后创建 ltd.newbee.cloud.web 包,用于存放调用端所需的测试类。在 ltd.newbee.cloud.web 包中新建 ConsumerController 类,代码如下:
package ltd.newbee.cloud.web;

import org.apache.http.client.methods.CloseableHttpResponse;
import org.apache.http.client.methods.HttpGet;
import org.apache.http.impl.client.CloseableHttpClient;
import org.apache.http.impl.client.HttpClients;
import org.apache.http.util.EntityUtils;
import org.springframework.web.bind.annotation.GetMapping;
import org.springframework.web.bind.annotation.RestController;

import java.io.IOException;

@RestController
public class ConsumerController {

    private final String SERVICE_URL = "http://localhost:8081";
    //private final String SERVICE_URL = "http://localhost:8082";

    /**
     * 使用 HttpClient 未处理 HTTP 请求
     * @return
     * @throws IOException
     */
    @GetMapping("/httpClientTest")
    public String httpClientTest() throws IOException {
        CloseableHttpClient httpClient = HttpClients.createDefault();
        HttpGet httpGet = new HttpGet(SERVICE_URL + "/hello");
        CloseableHttpResponse response = null;
        try {
            // 执行请求
            response = httpClient.execute(httpGet);
            // 判断返回状态码
            if (response.getStatusLine().getStatusCode() == 200) {
                String content = EntityUtils.toString(response.getEntity(), "UTF-8");
                // 打印请求结果
                System.out.println(content);
            }
        } finally {
            if (response != null) {
                response.close();
            }
        }
        httpClient.close();
        return "请求成功";
    }
}
代码中定义了 SERVICE_URL 变量,用于存放请求地址。在 httpClientTest() 方法中,使用 HttpClient 工具对目标服务的接口进行了请求,并打印接收的请求结果。
编码完成后,依次启动 service-demo、service-demo2、request-demo 三个实例,启动成功后可以访问如下测试地址:
http://localhost:8083/httpClientTest如果项目中没有报错,控制台打印出了此次的请求结果,则编码完成:
hello from service01

hello from service02
使用RestTemplate处理请求
RestTemplate 是 Spring 提供的一个 HTTP 请求工具,它提供了常见的 REST 请求方案的模板,简化了在 Java 代码中处理 HTTP 请求的编码过程。接下来笔者将使用 RestTemplate 工具来完成 HTTP 请求的处理。
依然在 request-demo 项目中进行编码。先创建 ltd.newbee.cloud.config 包,并新建 RestTemplate 的配置类,代码如下:
package ltd.newbee.cloud.config;

import org.springframework.context.annotation.Bean;
import org.springframework.context.annotation.Configuration;
import org.springframework.http.client.ClientHttpRequestFactory;
import org.springframework.http.client.SimpleClientHttpRequestFactory;
import org.springframework.web.client.RestTemplate;
import org.springframework.http.converter.StringHttpMessageConverter;

import java.nio.charset.Charset;

@Configuration
public class RestTemplateConfig {

    @Bean
    public RestTemplate restTemplate(ClientHttpRequestFactory factory) {
        RestTemplate restTemplate = new RestTemplate(factory);
        // UTF-8 编码设置
        restTemplate.getMessageConverters().set(1,
                new StringHttpMessageConverter(Charset.forName("UTF-8")));
        return restTemplate;
    }

    @Bean
    public ClientHttpRequestFactory simpleClientHttpRequestFactory() {
        SimpleClientHttpRequestFactory factory = new SimpleClientHttpRequestFactory();
        // 超时时间为 10 秒
        factory.setReadTimeout(10 * 1000);
        // 超时时间为 5 秒
        factory.setConnectTimeout(5 * 1000);
        return factory;
    }
}
然后在 ConsumerController 类中引入 RestTemplate 对象,并使用它来发起请求和处理请求回调结果,代码如下:
@Resource
private RestTemplate restTemplate;

/**
 * 使用 RestTemplate 来处理 HTTP 请求
 * @return
 * @throws IOException
 */
@GetMapping("/restTemplateTest")
public String restTemplateTest() {
    // 打印请求结果
    System.out.println(restTemplate.getForObject(SERVICE_URL + "/hello", String.class));
    return "请求成功";
}
在 restTemplateTest() 方法中,使用 RestTemplate 工具对目标服务的接口进行了请求,并打印接收的请求结果。相较于 HttpClient 工具,RestTemplate 工具编码更加简单,不管是发起请求还是请求回调的处理都做了很多封装,方便开发人员使用。
编码完成后,依次启动 service-demo、service-demo2、request-demo 三个实例,启动成功后可以访问如下测试地址:
http://localhost:8083/restTemplateTest如果项目中没有报错,控制台打印出了此次的请求结果,则编码完成:
hello from service01

hello from service02
使用WebClient处理请求
WebClient 是从 Spring WebFlux 5.0 版本开始提供的一个非阻塞的基于响应式编程的进行 HTTP 请求的客户端工具。它的响应式编程基于 Reactor。与 RestTemplate 工具类似,它们都是 Spring 官方提供的 HTTP 请求工具,方便开发人员进行网络编程。
只是二者有些许不同,RestTemplate 是阻塞式客户端,WebClient 是非阻塞式客户端,并且二者所依赖的 Servlet 环境不同,WebClient 是 Spring WebFlux 开发库的一部分,引入 starter 场景启动器时使用的依赖如下:
<dependency>
    <groupId>org.springframework.boot</groupId>
    <artifactId>spring-boot-starter-webflux</artifactId>
</dependency>
不用引入 spring-boot-starter-web。使用 RestTemplate 工具直接引用 spring-boot-starter-web 即可。
复制 request-demo 为 request-demo2,修改 pom.xml 文件中的 web 场景启动器为 spring-boot-starter-webflux,之后新建 ConsumerController2 类,并新增如下代码:
package ltd.newbee.cloud.web;

import org.springframework.web.bind.annotation.GetMapping;
import org.springframework.web.bind.annotation.RestController;
import org.springframework.web.reactive.function.client.WebClient;
import reactor.core.publisher.Mono;

@RestController
public class ConsumerController2 {

    private final String SERVICE_URL = "http://localhost:8081";
    //private final String SERVICE_URL = "http://localhost:8082";

    private WebClient webClient = WebClient.builder()
        .baseUrl(SERVICE_URL)
        .build();

    /**
     * 使用 WebClient 处理 HTTP 请求
     * @return
     */
    @GetMapping("/webClientTest")
    public String webClientTest() {
        Mono<String> mono = webClient
                .get()                     // GET 请求方式
                .uri("/hello")              // 请求地址
                .retrieve()                // 获取响应结果
                .bodyToMono(String.class); // 响应结果转换

        // 打印请求结果
        mono.subscribe(result -> {
            System.out.println(result);
        });
        return "请求成功";
    }
}
在 webClientTest() 方法中,使用 WebClient 工具对目标服务的接口进行请求,并打印接收的请求结果。相较于 RestTemplate 工具,WebClient 工具的编码方式有所不同,可以应用函数式编程与流式 API,支持 Reactive 类型(Mono 和 Flux)。
编码完成后,依次启动 service-demo、service-demo2、request-demo2 三个实例,启动成功后可以访问如下测试地址:
http://localhost:8084/webClientTest如果项目中没有报错,控制台打印出了此次的请求结果,则编码完成:
hello from service01

hello from service02
最终代码目录结构如图 5-9 所示。
当然,读者也可以自行编码,分别创建四个 Spring Boot 项目并进行编码。笔者为了功能演示和源码整理,把所有代码放在了同一个工程里。