下载图像并将其保存到 S3
我们在第 3 章 “处理数据” 中了解了如何将内容写入 S3。 在这里,我们将该过程扩展为 IBlobWriter 的接口实现,以写入 S3。
怎么做
我们按如下方式进行:
-
运行示例的脚本。 它将执行以下操作:
# download the image item = URLUtility(const.ApodEclipseImage()) # store it in S3 S3BlobWriter(bucket_name="scraping-apod").write(item.filename,item.data) -
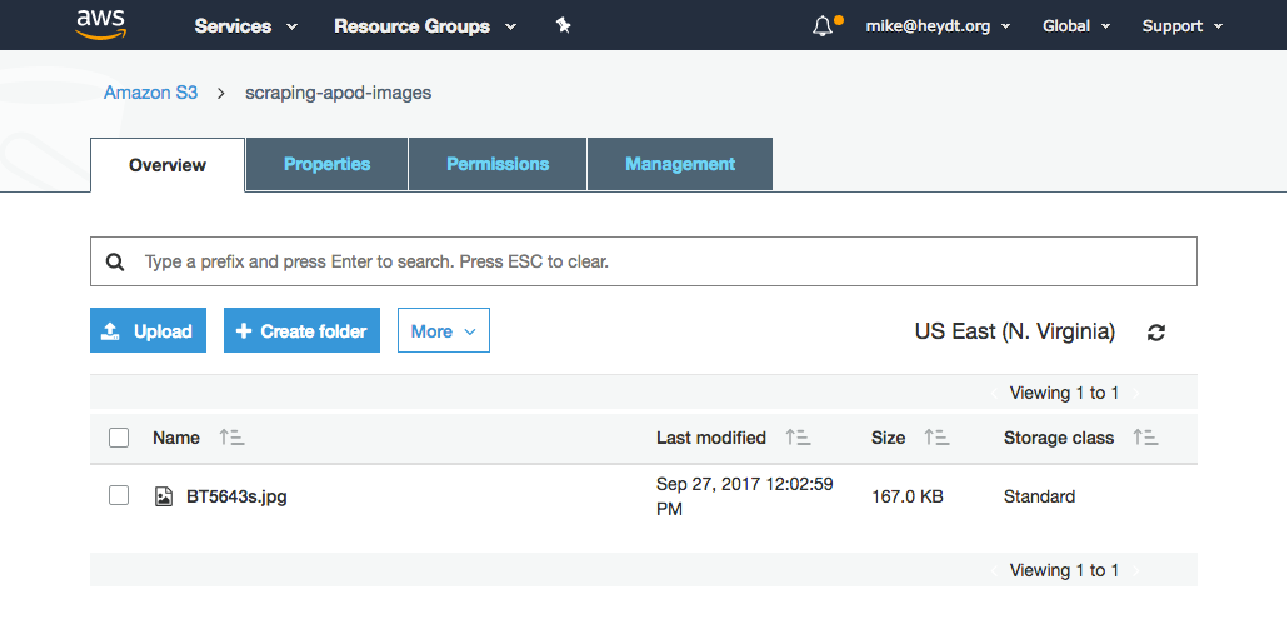
在 S3 中检查,我们可以看到存储桶已创建,并且图像已放置在存储桶中:

工作原理
以下是 S3BlobWriter 的实现:
class S3BlobWriter(implements(IBlobWriter)):
    def __init__(self, bucket_name, boto_client=None):
        self._bucket_name = bucket_name

        if self._bucket_name is None:
            self.bucket_name = "/"

        # caller can specify a boto client (can reuse and save auth times)
        self._boto_client = boto_client
        # or create a boto client if user did not, use secrets from environment variables
        if self._boto_client is None:
            self._boto_client = boto3.client('s3')

    def write(self, filename, contents):

        # create bucket, and put the object
        self._boto_client.create_bucket(Bucket=self._bucket_name,
                                        ACL='public-read')
        self._boto_client.put_object(Bucket=self._bucket_name,
                                     Key=filename,
                                     Body=contents,
                                     ACL="public-read")
我们之前在写入 S3 的秘籍中已经看到过这段代码。 该类将其巧妙地包装到可重用的接口实现中。 创建实例时指定桶名称。 然后每次调用 .write() 都会保存在同一个存储桶中。