使用外部服务对网站进行屏幕截图
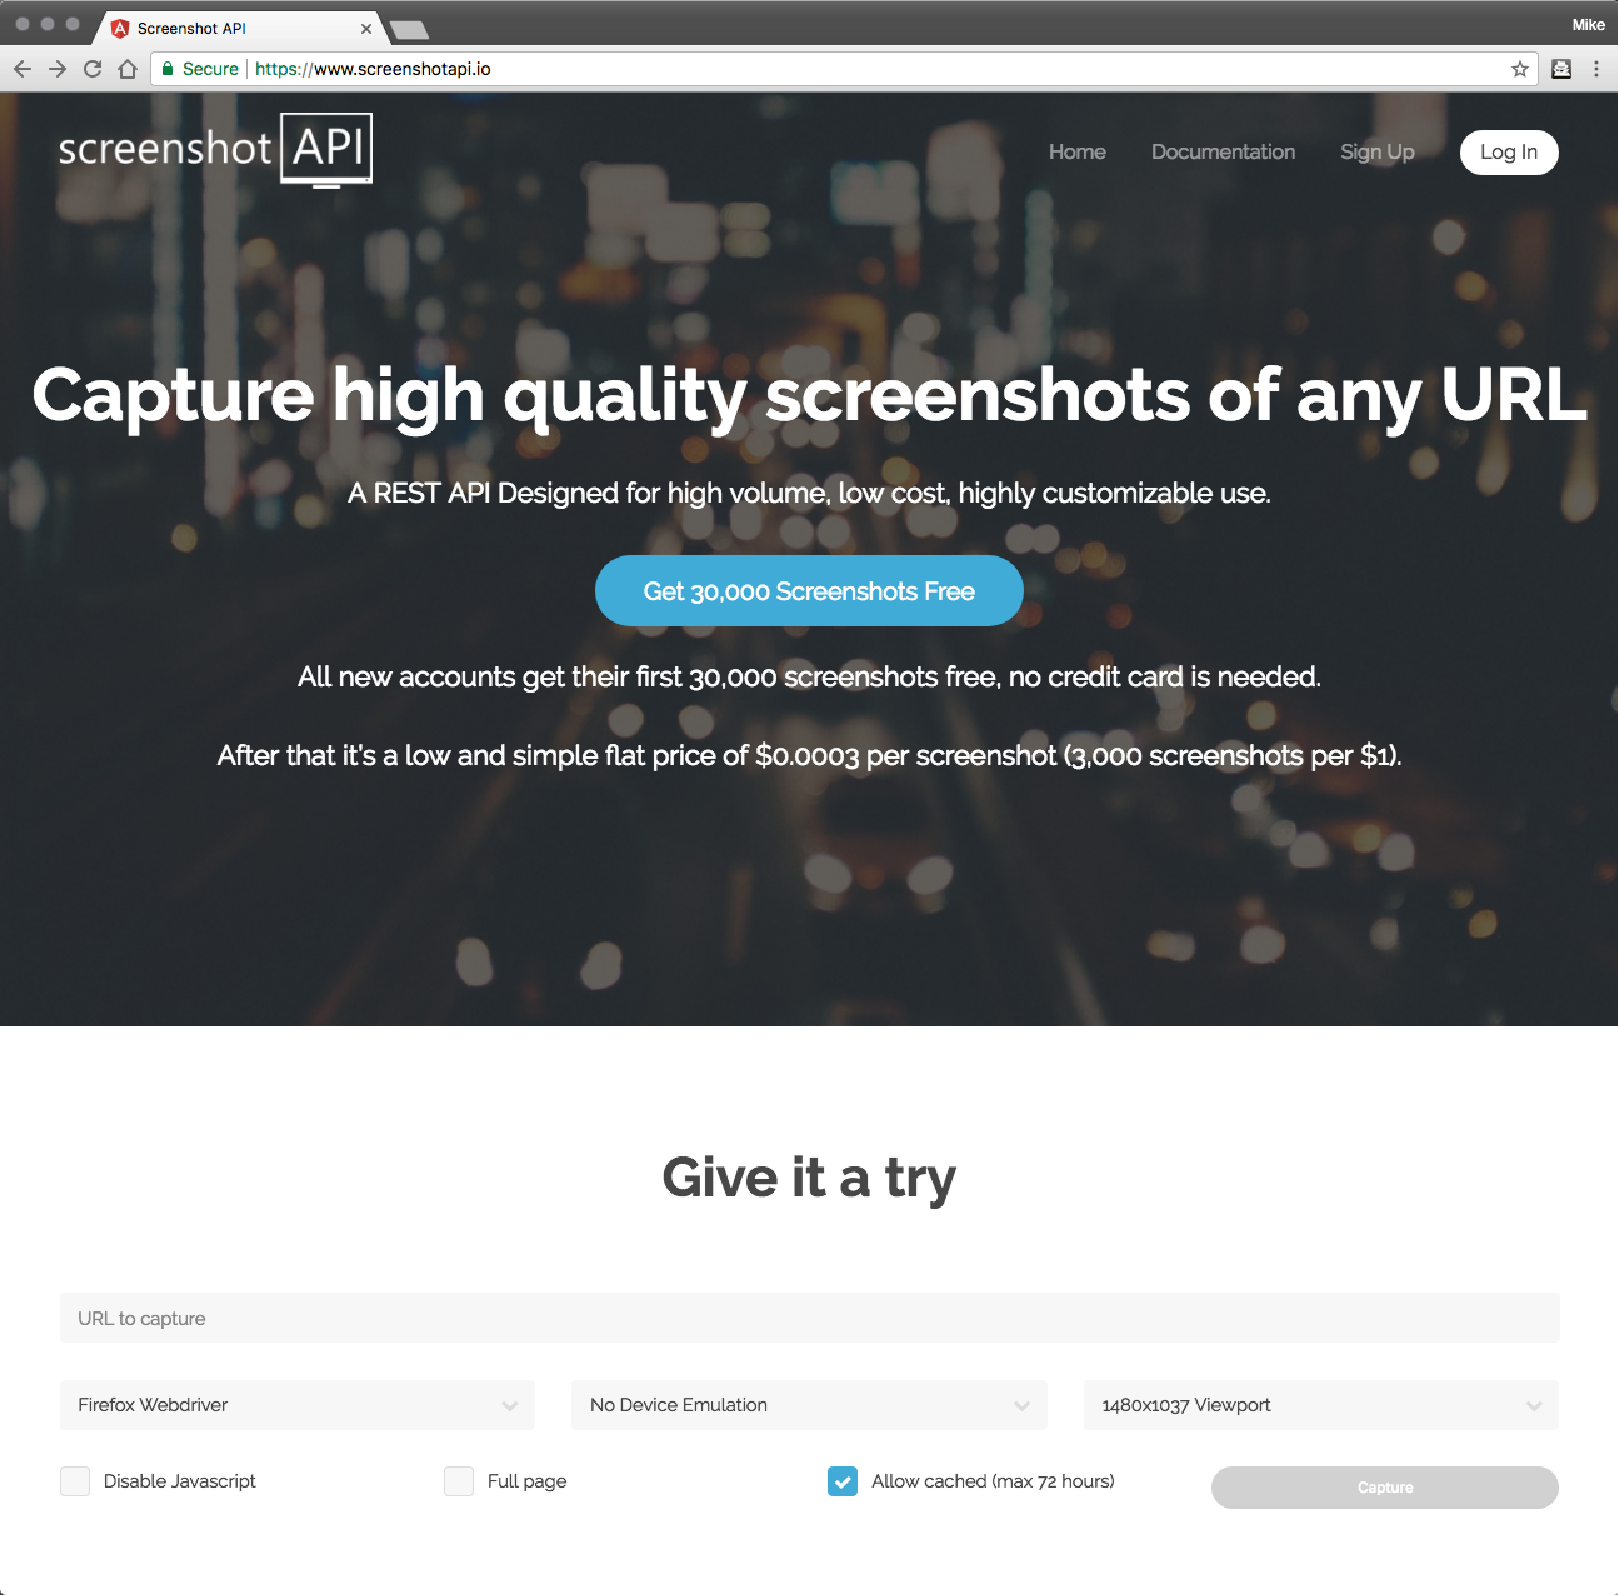
之前的配方使用 selenium、webdriver 和 PhantomJS 来创建屏幕截图。 这显然需要安装这些软件包。 如果您不想安装这些软件但仍想制作网站屏幕截图,那么您可以使用多种可以进行屏幕截图的网络服务之一。 在本教程中,我们将使用 www.screenshotapi.io 上的服务来创建屏幕截图。
怎么做
此示例的脚本是 04/09_screenshotapi.py。 运行一下,它会生成屏幕截图。 代码如下,在结构上与前面的菜谱非常相似:
from core.website_screenshot_with_screenshotapi import WebsiteScreenshotGenerator
from core.file_blob_writer import FileBlobWriter
from os.path import expanduser
# get the screenshot
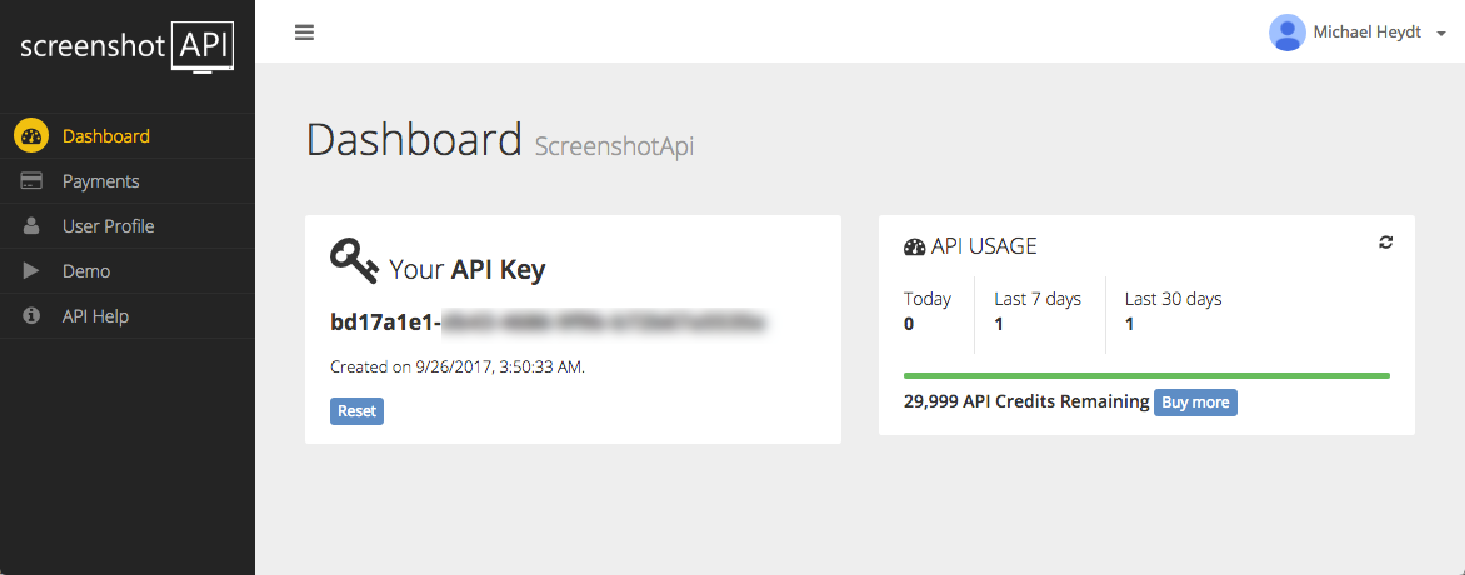
image_bytes = WebsiteScreenshotGenerator("bd17a1e1-db43-4686-9f9b-b72b67a5535e")\
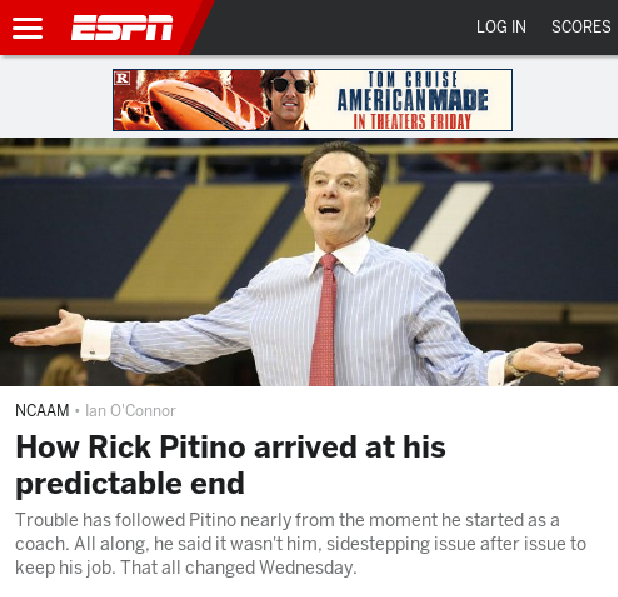
.capture("http://espn.go.com", 500, 500).image_bytes
# save it to a file
FileBlobWriter(expanduser("~")).write("website_screenshot.png", image_bytes)与上一配方的功能差异在于我们使用了不同的 WebsiteScreenshotGenerator 实现。 这个来自 core.website_screenshot_with_screenshotapi 模块。
运行时,控制台将输出以下内容:
Sending request: http://espn.go.com
{"status":"ready","key":"2e9a40b86c95f50ad3f70613798828a8","apiCreditsCost"
:1}
The image key is: 2e9a40b86c95f50ad3f70613798828a8
Trying to retrieve: https://api.screenshotapi.io/retrieve
Downloading image:
https://screenshotapi.s3.amazonaws.com/captures/2e9a40b86c95f50ad3f70613798
828a8.png
Saving screenshot to:
downloaded_screenshot.png2e9a40b86c95f50ad3f70613798828a8
Cropped the image to: 500 500
Attempting to write 209197 bytes to website_screenshot.png:
The write was successful
并为我们提供了以下图像:
工作原理
以下是这个 WebsiteScreenshotGenerator 的代码:
class WebsiteScreenshotGenerator:
    def __init__(self, apikey):
        self._screenshot = None
        self._apikey = apikey

    def capture(self, url, width, height, crop=True):
        key = self.beginCapture(url, "{0}x{1}".format(width, height),
                                "true", "firefox", "true")

        print("The image key is: " + key)

        timeout = 30
        tCounter = 0
        tCountIncr = 3

        while True:
            result = self.tryRetrieve(key)
            if result["success"]:
                print("Saving screenshot to: downloaded_screenshot.png" + key)
                bytes = result["bytes"]
                self._screenshot = Image.open(io.BytesIO(bytes))

                if crop:
                    # crop the image
                    self._screenshot = self._screenshot.crop((0, 0, width, height))
                    print("Cropped the image to: {0} {1}".format(width, height))
                break

            tCounter += tCountIncr
            print("Screenshot not yet ready.. waiting for: " + str(tCountIncr) + " seconds.")
            time.sleep(tCountIncr)
            if tCounter > timeout:
                print("Timed out while downloading: " + key)
                break
        return self

    def beginCapture(self, url, viewport, fullpage, webdriver, javascript):
        serverUrl = "https://api.screenshotapi.io/capture"
        print('Sending request: ' + url)
        headers = {'apikey': self._apikey}
        params = {'url': urllib.parse.unquote(url).encode('utf8'),
              'viewport': viewport, 'fullpage': fullpage,
              'webdriver': webdriver, 'javascript': javascript}
        result = requests.post(serverUrl, data=params, headers=headers)
        print(result.text)
        json_results = json.loads(result.text)
        return json_results['key']

    def tryRetrieve(self, key):
        url = 'https://api.screenshotapi.io/retrieve'
        headers = {'apikey': self._apikey}
        params = {'key': key}
        print('Trying to retrieve: ' + url)
        result = requests.get(url, params=params, headers=headers)

        json_results = json.loads(result.text)
        if json_results["status"] == "ready":
            print('Downloading image: ' + json_results["imageUrl"])
            image_result = requests.get(json_results["imageUrl"])
            return {'success': True, 'bytes': image_result.content}
        else:
            return {'success': False}

    @property
    def image(self):
        return self._screenshot

    @property
    def image_bytes(self):
        bytesio = io.BytesIO()
        self._screenshot.save(bytesio, "PNG")
        bytesio.seek(0)
        return bytesio.getvalue()
Screenshotapi.io API 是一个 REST API。 有两个不同的端点:
第一个端点被调用并将 URL 和其他参数传递给其服务。 成功执行后,此 API 将返回一个密钥,可在另一个端点上使用该密钥来检索图像。 屏幕截图是异步执行的,我们需要使用从捕获端点返回的密钥不断调用检索 API。 屏幕截图完成后,此端点将返回就绪状态值。 该代码只是循环,直到设置、发生错误或代码超时。
当快照可用时,API 在检索响应中返回图像的 URL。 然后,代码检索该图像并根据接收到的数据构造一个 Pillow Image 对象。
还有更多
Screenshotapi.io API 有许多有用的参数。 其中一些允许您调整要使用的浏览器引擎(Firefox、Chrome 或 PhantomJS)、设备模拟以及是否在网页中执行 JavaScript。 有关这些选项和 API 的更多详细信息,请访问 http://docs.screenshotapi.io/rest-api/ 。