装配Bean
在 Spring 中有多种 Bean 的装配方式,这里不再详细介绍,我们主要介绍基于注解的方式装配 Bean。
在上文已经使用过 @Bean 注解,但是这样的方式有些烦琐,我们可以使用更好的方式。扫描注解就是其中一种,它通过 @ComponentScan 与 @Component 配合使用。
@ComponentScan简介
@Component 指定要被扫描的类,而 @ComponentScan 则把标明 @Component 的类作为 Bean 装配到 IOC 容器中。在讲解之前,可还是先看看 @ComponentScan 的代码,如下所示。
@Retention(RetentionPolicy.RUNTIME)
@Target(ElementType.TYPE)
@Documented
@Repeatable(ComponentScans.class)
public @interface ComponentScan {
   //定义扫描的包,对应的包扫描路径,可以是单个路径,也可以是扫描的路径数组
   @AliasFor("basePackages")
   String[] value() default {};
   //定义扫描的包
   @AliasFor("value")
   String[] basePackages() default {};
   //定义扫描的类
   Class<?>[] basePackageClasses() default {};
   //bean name生成器
      Class<? extends BeanNameGenerator> nameGenerator() default BeanNameGenerator.class;
   //处理检测到的bean的scope范围
      Class<? extends ScopeMetadataResolver> scopeResolver() default AnnotationScopeMetadataResolver.class;
   //作用域代理
   ScopedProxyMode scopedProxy() default ScopedProxyMode.DEFAULT;
   //资源匹配
   String resourcePattern() default ClassPathScanningCandidateComponentProvider.DEFAULT_RESOURCE_PATTERN;
   //是否启用默认的过滤器
   boolean useDefaultFilters() default true;
   //过滤满足条件的
      org.springframework.context.annotation.ComponentScan.Filter[] includeFilters() default {};
   //过滤不满足条件的
      org.springframework.context.annotation.ComponentScan.Filter[] excludeFilters() default {};
   //是否延迟初始化
   boolean lazyInit() default false;
   //定义过滤器
   @Retention(RetentionPolicy.RUNTIME)
   @Target({})
   @interface Filter {
      //过滤器类型
      FilterType type() default FilterType.ANNOTATION;
      //过滤器的类
      @AliasFor("classes")
      Class<?>[] value() default {};
      //过滤器的类
      @AliasFor("value")
      Class<?>[] classes() default {};
      //匹配方式
      String[] pattern() default {};
   }
}
上面的源码中,虽已加过注解,但是有些重要的知识点需重新说明。代码中有一个配置项 basePackages,如果不配置,则默认扫描当前的包以及其子包下被标注的类;还可以使用配置项 value,这个和 basePackages 一样,可以扫描单个包路径,也可以扫描多个包路径;同时,可以使用 basePackageClasses 定义具体要扫描的类。
在上面的源码中,还使用了排除与过滤的方式,includeFilters 定义符合条件的包才会扫描;excludeFilters 则是不会扫描定义中的包的类,但是需要 @interface Filter 配合使用。在注解中还有一个 Type 类型,其中 FilterType 有 5 种类型,如 ANNOTATION 是注解类型,它是默认的类型从上面的源码中可以看出来;ASSIGNABLE_TYPE 指定固定类;ASPECTJ 是 ASPECTJ 类型;REGEX 是正则表达式;CUSTOM 是自定义类型,使用方式会在实例中展示。
注意:有些别的注解也注入了 @Component,并且在默认情况下会被注入 IOC 容器,常见的几个注解有 @Component、@Repository、@Service、@Controller 等。
@ComponentScan使用实例
在 4.2.1 中已经介绍了 @ComponentScan,但是具体的实例还没有讲解,下面主要讲两个实例,一个是以扫描包的方式装配 Bean,另一个是以排除 @Controller 的方式装配 Bean。下面的实例,是在上文的源码的基础上修改完成的,包名不变。
以扫描包的方式装配bean
首先改造 pojo 中的类,在注解上添加 @Component,然后使用 @Value 注解添加变量值,方便测试时查看效果,代码如下所示。
package com.springBoot.ioc.pojo;
/**
  * @Desciption 一个简单的bean对象
  */
@Component("student")
public class Student {
   //三个基本属性
   @Value("100")
   private Long id;
   @Value("Tom")
   private String username;
   @Value("123456")
   private String password;

   public Long getId() {
      return id;
   }

   /**
   * generate setters and getters
   */
}
在上面的代码中,重点就是添加 @Component 以进行标注。有一个地方需要注意,@Component 中一般需要指定 Bean 的 name,不然默认的是将类名的首字母变为小写的 name。
然后修改 config 包下的配置文件 MySpringBootConfig,代码如下所示。
package com.springBoot.ioc.config;

@Configuration
@ComponentScan(value = "com.springBoot.ioc.pojo")
public class MySpringBootConfig{
}
在上面的代码中,添加了 @ComponentScan,就不再需要像 @Bean 方式生成对象,然后注册,而是根据 value 指定的包名扫描 Bean。这样更加简化,不再需要 new 对象。
除了上面代码中的使用方式,还可以有以下几种方式。
@ComponentScan(basePackages = "com.springBoot.ioc.pojo")
@ComponentScan("com.springBoot.ioc.pojo")
@ComponentScan(basePackageClasses = Student.class)
最后,校验是否可以使用,我们还是使用以前的测试类,和上次相比较,会发现代码没有修改过,代码如下所示。
package com.springBoot.ioc.test;
/**
  * @Desciption IOC实例测试类
  */
public class IocTestDemo {

   private static final Logger log=LoggerFactory.getLogger(IocTestDemo.class);

   public static void main(String[] args) {
      ApplicationContext context=new AnnotationConfigApplicationContext(MySpringBootConfig.class);
      Student student=context.getBean(Student.class);
      log.info("id= "+(student.getId()+""));
      log.info("username= "+student.getUsername());
      log.info("password= "+student.getPassword());
   }
}
效果如下所示。
16:12:32.350 [main] INFO com.springBoot.ioc.test.IocTestDemo - id=100
16:12:32.350 [main] INFO com.springBoot.ioc.test.IocTestDemo username= Tom
16:12:32.350 [main] INFO com.springBoot.ioc.test.IocTestDemo password= 123456
控制默认加载的Bean
在下面的代码中,我们验证 @Controller 时对应的类会被默认加载,因此会使用属性控制,使得 @Controller 对应的类不被扫描加载。通过下面的实例讲解,可了解属性的使用。
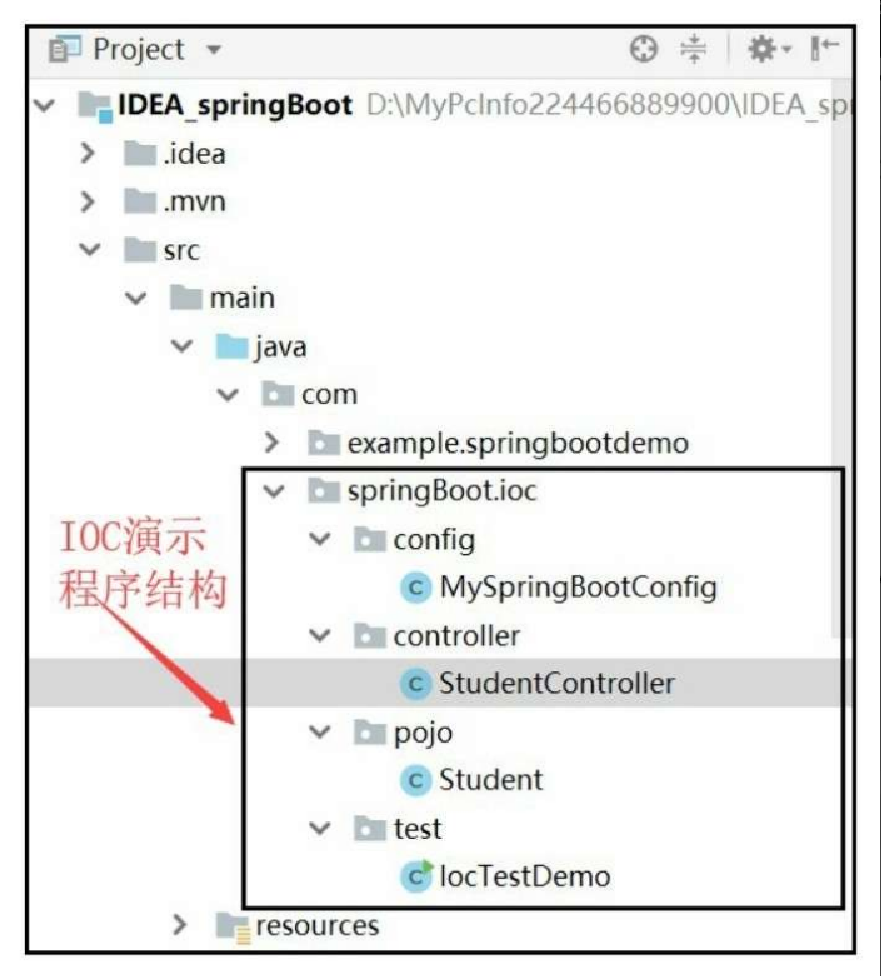
在这里新建包,为了清晰地展示代码,这里展示一下代码结构,如图4.4所示。
首先,新建 controller 包,在此包下新建 StudentController 类,代码如下所示。
package com.springBoot.ioc.controller;

/**
  * @Description 用于演示的控制类
  */
@Controller("studentController")
public class StudentController {
}
在上面这段代码中,我们可以看到,代码中加了 @Controller 注解。然后,我们去配置项中添加包路径,如下所示。
package com.springBoot.ioc.config;

@Configuration
@ComponentScan("com.springBoot.ioc.pojo,com.springBoot.ioc. controller")
public class MySpringBootConfig{
}
在上面的这段代码中,编写方式有点费事,只是想表示已经将 controller 包添加过来了。在实际的代码中,建议用正则表达式写包路径。最后,修改测试类代码如下所示。
package com.springBoot.ioc.test;
/**
  * @Desciption IOC实例测试类
  */
public class IocTestDemo {
   private static final Logger log=LoggerFactory.getLogger(IocTestDemo. class);
   public static void main(String[] args) {
      ApplicationContext context=new AnnotationConfigApplicationContext(MySpringBootConfig.class);
      //student
      Student student=context.getBean(Student.class);
      log.info("id= "+(student.getId()+""));
      log.info("username= "+student.getUsername());
      log.info("password= "+student.getPassword());
      //studentController
      StudentController studentController=context. getBean(StudentController.class);
      log.info("studentController name: "+studentController. getClass().getName());
   }
}
展示控制台效果如下所示。
16:27:11.610[main]DEBUGorg.springframework.beans.factory.support. DefaultListableBeanFactory-Returning cached instance of singleton bean 'student'
16:27:11.611 [main] INFO com.springBoot.ioc.test.IocTestDemo - id=100
16:27:11.611 [main] INFO com.springBoot.ioc.test.IocTestDemo username= Tom
16:27:11.611 [main] INFO com.springBoot.ioc.test.IocTestDemo password= 123456
16:27:11.611 [main] DEBUG org.springframework.beans.factory.support. DefaultListableBeanFactory - Returning cached instance of singleton bean 'studentController'
16:27:11.611 [main] INFO com.springBoot.ioc.test.IocTestDemo studentController name: com.springBoot.ioc.controller.StudentController
通过日志,可以看到 studentController 装配到 IOC 中了。如果不想让 StudentController 的 Bean 被默认加载,要如何做?其实在上文讲解知识点时已经提及,就是使用 excludesFilters,具体的做法依旧通过实例来展示。因为代码修改的部分有 config 下的配置文件,代码如下所示。
package com.springBoot.ioc.config;

/**
  * @Desciption 配置文件
  */
@Configuration
@ComponentScan(basePackages="com.springBoot.ioc.*",
        excludeFilters = {@ComponentScan.Filter(type = FilterType. ANNOTATION,classes = Controller.class)})
public class MySpringBootConfig{
}
在这段代码中,要注意一点,classes=Controller.class,而不是写成具体的类文件,不然会有如下报错信息。
Caused by: java.lang.IllegalArgumentException: @ComponentScan ANNOTATION type filter requires an annotation type: class com.springBoot. ioc.controller.StudentController同时要修改测试类代码,因为这时已经没有 StudentController 这个 Bean,但是为了明显看到获取不到 StudentController 这个 Bean,代码就不再修改。执行测试代码,效果如下所示。
Exception in thread "main" org.springframework.beans.factory. NoSuchBeanDefinitionException: No qualifying bean of type ' com. springBoot.ioc.controller.StudentController' available所以我们可以通过属性控制类的 Bean 默认加载。