Vue 生命周期钩子
Vue 组件生命周期事件包括以下内容:
-
beforeCreate:在组件初始化时运行。数据(data)尚未变为响应式,并且事件未在 DOM 中设置。
-
created:您将能够访问响应式数据和事件,但模板和 DOM 不会挂载或渲染。当从服务器请求异步数据时,这个钩子通常很好用,因为您很可能会在安装虚拟 DOM 之前尽早需要这些信息。
-
beforeMount:一个非常不常见的挂钩,因为它直接在组件的第一次渲染之前运行,并且不会在服务器端渲染中调用。
-
Mounted:挂载钩子是最常用的钩子之一,因为它们允许您访问 DOM 元素,以便集成非 Vue 库。
-
beforeUpdate:在组件发生更改之后、重新渲染之前立即运行。对于在渲染之前获取反应数据的状态很有用。
-
updated:在 beforeUpdate 挂钩之后立即运行,并使用新的数据更改重新渲染组件。
-
beforeDestroy:在销毁组件实例之前直接触发。该组件仍将发挥作用,直到调用已销毁的挂钩为止,从而允许您停止事件侦听器和数据订阅以避免内存泄漏。
-
destroyed:所有虚拟 DOM 元素和事件监听器都已从 Vue 实例中清除。通过此挂钩,您可以将这一情况传达给需要知道此操作已完成的任何人或任何元素。
练习 1.12:使用 Vue 生命周期来控制数据
在本练习中,我们将学习如何以及何时使用 Vue 的生命周期挂钩,以及何时使用 JavaScript alert 触发它们。练习结束时,我们将能够理解和使用多个 Vue 生命周期挂钩。
要访问本练习的代码文件,请参阅 https://packt.live/36N42nT 。
-
打开命令行终端,导航到 Exercise1.12 文件夹,然后按顺序运行以下命令:
> cd Exercise1.12/ > code . > yarn > yarn serve请随意将 alert 替换为 console.log()。
-
首先创建一个要在列表元素中迭代的数据数组,将键设置为
n,并使用花括号输出<li>元素内的值{{item}}:<template> <div> <h1>Vue Lifecycle hooks</h1> <ul> <li v-for="(item, n) in list" :key="n"> {{ item }} </li> </ul> </div> </template> <script> export default { data() { return { list: [ 'Apex Legends', 'A Plague Tale: Innocence', 'ART SQOOL', 'Baba Is You', 'Devil May Cry 5', 'The Division 2', 'Hypnospace Outlaw', 'Katana ZERO', ], } } } </script> -
将
beforeCreated()和created()添加为data()函数下方的函数。在这些挂钩中设置 alert 或控制台日志,以便您可以看到它们何时被触发:<script> export default { ... beforeCreate() { alert('beforeCreate: data is static, thats it') }, created() { alert('created: data and events ready, but no DOM') }, } </script>当您刷新浏览器时,您应该会看到两个警报,然后才能看到页面上加载的列表:
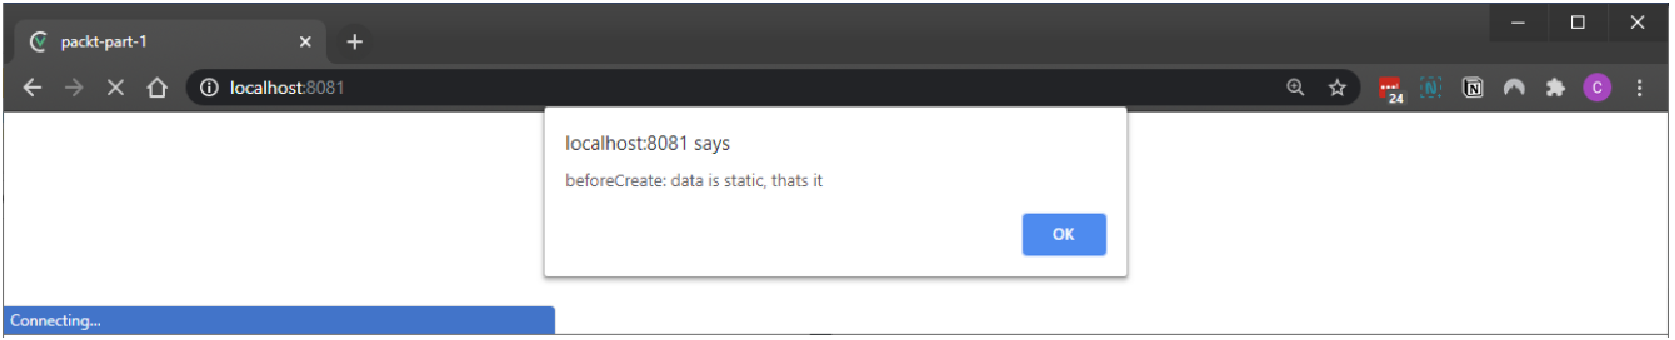 Figure 1. Figure 1.37: Observe the beforeCreate() hook alert first
以下屏幕截图显示了
beforeCreate()挂钩之后的created()挂钩警报: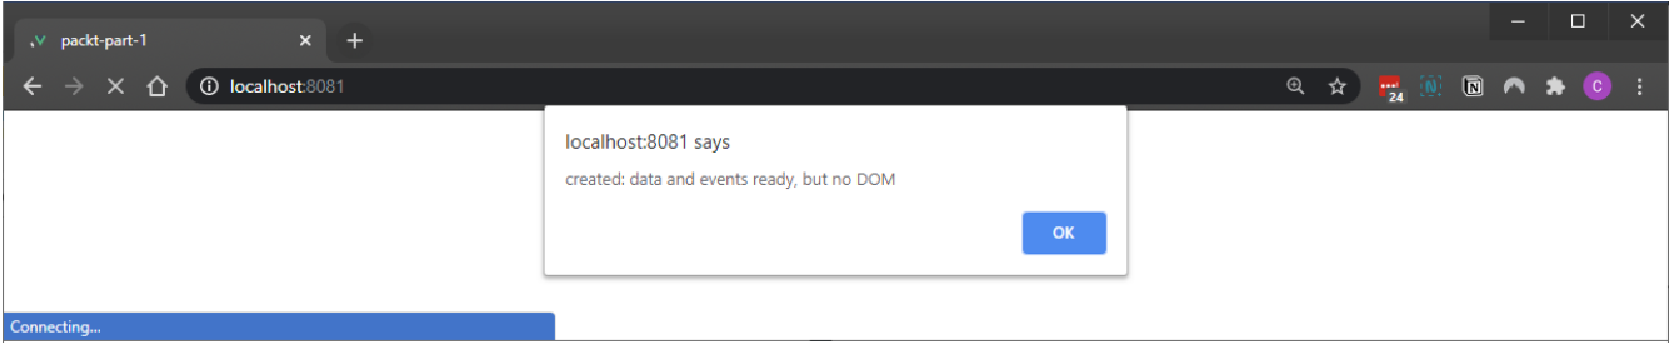 Figure 2. Figure 1.38: Observe the before() hook alert after the beforeCreate() hook
 -
将
beforeMount()和Mounted()添加为created()挂钩下方的函数。在这些挂钩内设置警报或控制台日志,以便您可以看到它们何时被触发:<script> export default { ... beforeMount() { alert('beforeMount: $el not ready') }, mounted() { alert('mounted: DOM ready to use') }, } </script>当您刷新浏览器时,您还应该看到这些警报,然后才能看到列表加载到页面上:
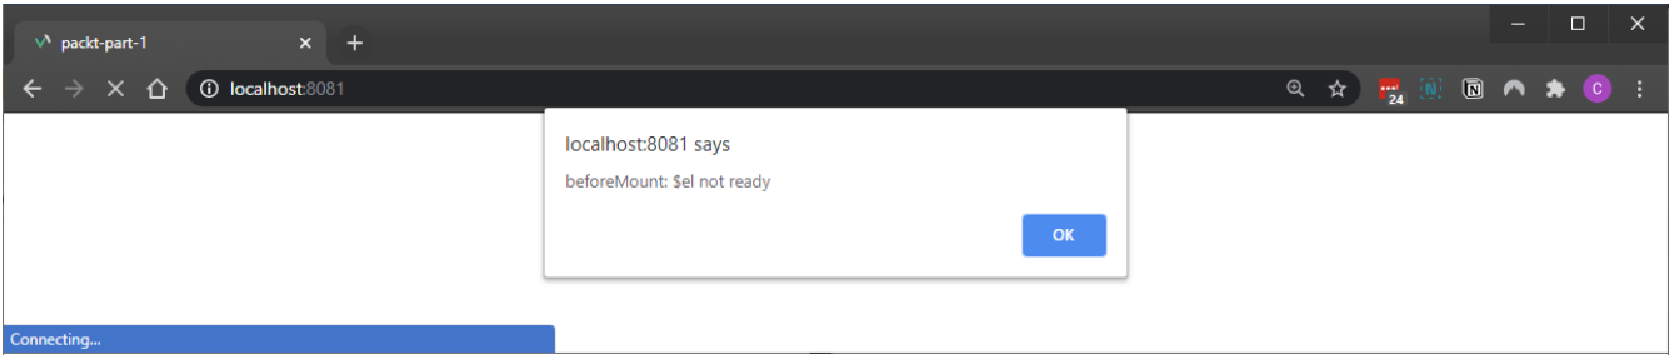 Figure 3. Figure 1.39: Observe the beforeMount() hook alert after the create() hook
以下屏幕截图显示了
beforeMount()挂钩之后的Mounted()挂钩警报: Figure 4. Figure 1.40: Observe alert mounted() hook alert after the beforeMount() hook
 -
在位于项目输出旁边的
<li>元素内添加一个新的锚元素。使用@click指令将此按钮绑定到名为deleteItem的方法,并将item值作为参数传递:<template> <div> <h1>Vue Lifecycle hooks</h1> <ul> <li v-for="(item, n) in list" :key="n"> {{ item }} <a @click="deleteItem(item)">Delete</a> </li> </ul> </div> </template> -
将名为
deleteItem的方法添加到挂钩上方、data()函数下方的methods对象中。在此函数内,将value作为参数传递,并从列表数组中过滤掉与该值不匹配的项目,然后用新列表替换现有列表:Exercise1-12.vue<script> export default { data() { return { list: [ 'Apex Legends', 'A Plague Tale: Innocence', 'ART SQOOL', 'Baba Is You', 'Devil May Cry 5', 'The Division 2', 'Hypnospace Outlaw', 'Katana ZERO', ], } }, methods: { deleteItem(value) { this.list = this.list.filter(item => item !== value) }, }, -
在组件底部的
<style>标记内添加样式,并将lang属性设置为scss:<style lang="scss" scoped> ul { padding-left: 0; } li { display: block; list-style: none; + li { margin-top: 10px; } } a { display: inline-block; background: rgb(235, 50, 50); padding: 5px 10px; border-radius: 10px; font-size: 10px; color: white; text-transform: uppercase; text-decoration: none; } </style> -
添加
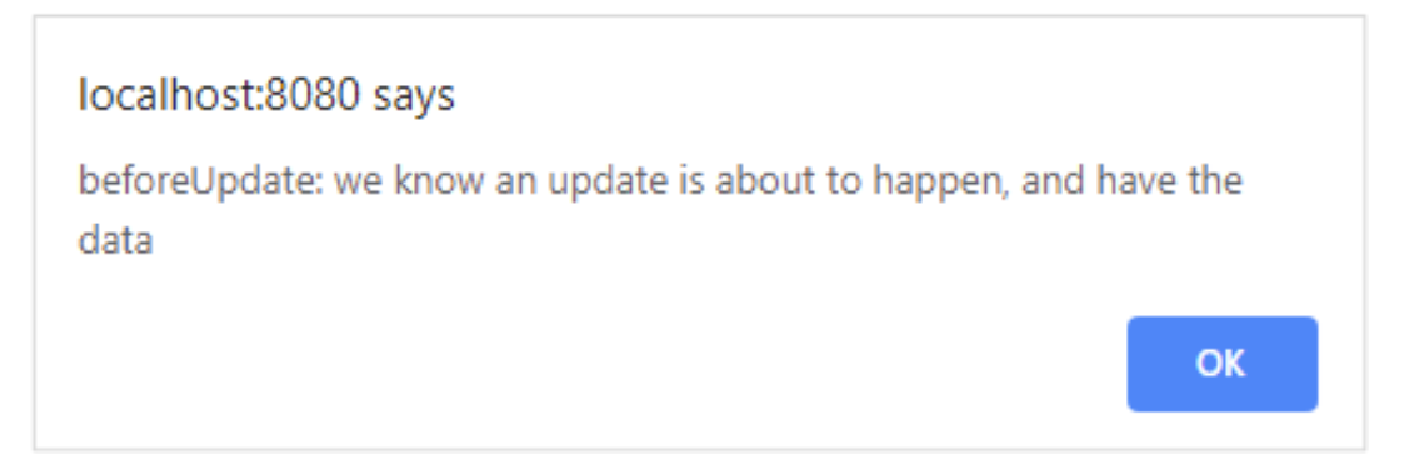
beforeUpdate()和Updated()作为Mounted()挂钩下方的函数,并在这些挂钩内设置警报或控制台日志,以便您可以看到它们何时被触发:<script> export default { ... beforeUpdate() { alert('beforeUpdate: we know an update is about to happen, and have the data') }, updated() { alert('updated: virtual DOM will update after you click OK') }, } </script>当您通过单击浏览器中的删除按钮删除列表项时,您应该会看到这些警报。
-
将
beforeDestroy()和destroyed()添加为updated()挂钩下方的函数。在这些挂钩中设置警报或控制台日志,以便您可以看到它们何时被触发:<script> export default { ... beforeDestroy() { alert('beforeDestroy: about to blow up this component') }, destroyed() { alert('destroyed: this component has been destroyed') }, } </script> -
将新项目添加到列表(list)数组中:
<script>
export default {
    data() {
        return {
            list: [
                'Apex Legends',
                'A Plague Tale: Innocence',
                'ART SQOOL',
                'Baba Is You',
                'Devil May Cry 5',
                'The Division 2',
                'Hypnospace Outlaw',
                'Katana ZERO',
            ],
        }
    },
在运行 localhost 的情况下保存此更改后,您还应该在浏览器中显示更新警报后看到销毁警报。这将生成以下输出:
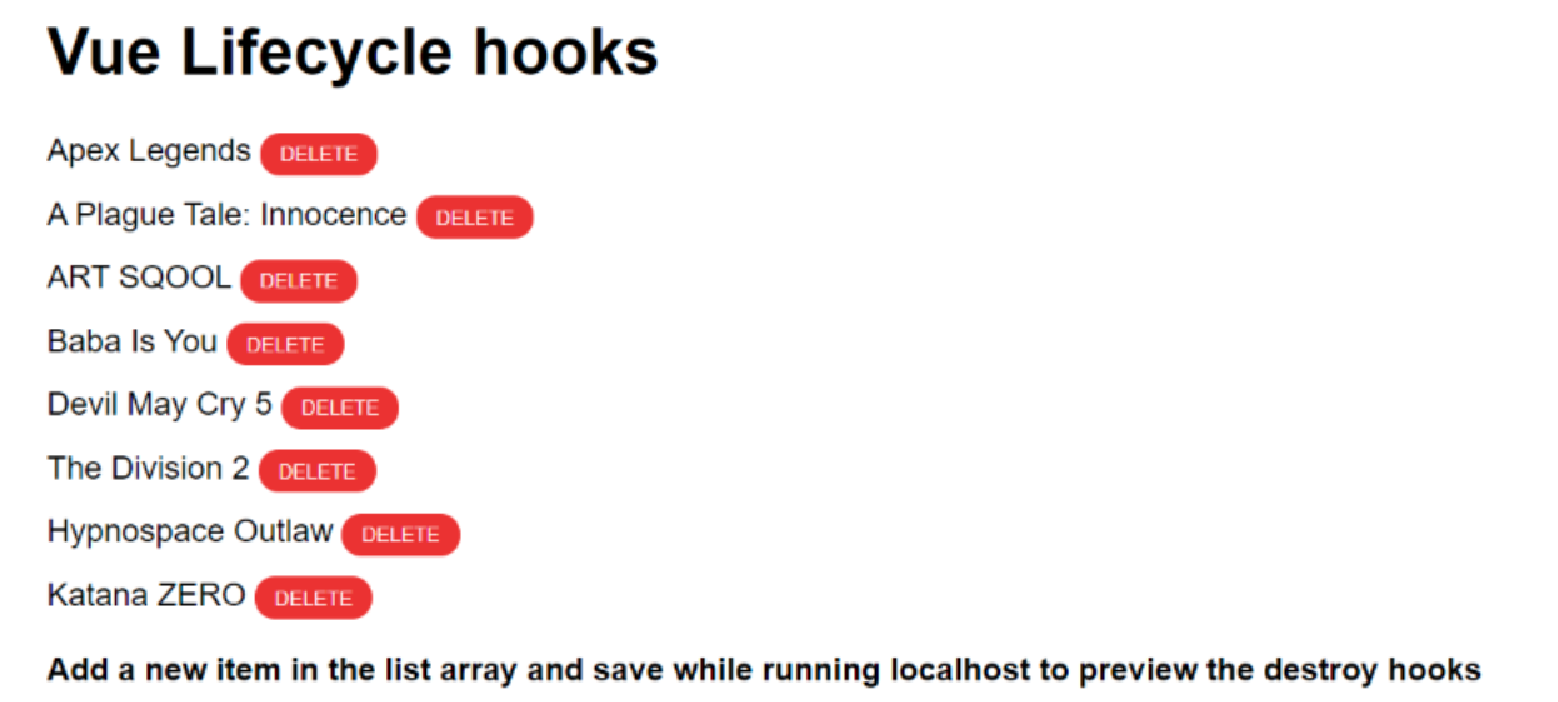 Figure 5. Figure 1.41: Output displaying Vue Lifecycle hooks
 -
警报将在每个生命周期挂钩处运行。尝试删除元素,在列表数组中添加新元素,然后刷新页面以查看每个钩子何时发生。这将生成如下输出:
每次操作页面上的某些内容时都会触发警报,展示每个可用的 Vue 生命周期。
|
|
在本练习中,我们了解了 Vue 生命周期挂钩是什么以及它们何时触发。这与 Vue 组件中的触发方法和控制数据结合起来非常有用。
活动 1.01:使用 Vue.js 构建动态购物清单应用程序
在本活动中,我们将构建一个动态购物清单应用程序,该应用程序将使用 SFC 的所有基本功能(例如表达式、循环、双向绑定和事件处理)来测试您对 Vue 的了解。
该应用程序应允许用户创建和删除单个列表项,并一键清除整个列表。
以下步骤将帮助您完成该活动:
-
使用绑定到
v-model的输入在一个组件中构建交互式表单。 -
添加一个可添加购物清单项目的输入字段。通过将方法绑定到
@keyup.enter事件,允许用户使用 Enter 键添加项目。 -
用户可以通过删除所有项目或一次删除一项来清除列表。为此,您可以使用删除方法,该方法可以将数组位置作为参数传递,或者简单地将整个购物清单数据属性覆盖为空数组
[]。
预期结果如下:
解决:
要访问此活动的代码文件,请参阅 https://packt.live/35Tkzau 。
-
通过运行 vue create new-activity-app 命令,使用 Vue CLI 创建一个新的 Vue 项目。通过命令提示符手动选择 dart-sass、babel 和 eslint 的功能。
-
用占位符搭建一个输入字段,按 Enter 添加新项,该项有一个绑定到名为 input 的数据对象的 v-model 和一个带有输入值的 ref 属性。通过使用 @keyup.enter 并引用 addItem 方法,将 Enter 键绑定到 addItem 方法,该方法将在下一步中创建:
<template> <div class="container"> <h2>Shopping list</h2> <div class="user-input"> <input placeholder="Press enter to add new item" v-model="input" @keyup.enter="addItem" ref="input" /> </div> </div> </template> <script> export default { data() { return { input: '', } }, } </script> <style lang="scss"> @import 'styles/global'; $color-green: #4fc08d; $color-grey: #2c3e50; .container { max-width: 600px; margin: 80px auto; } // Type .h2 { font-size: 21px; } .user-input { display: flex; align-items: center; padding-bottom: 20px; input { width: 100%; padding: 10px 6px; margin-right: 10px; } } </style> -
引入一个绑定单击事件的按钮来 addItem,并在 methods 对象中包含相应的方法 addItem()。在 addItem() 方法中,将 data prop 输入字符串推送到 shoppingList 并添加检查以确保 input prop 存在。(可选)为按钮添加一些样式:
<template> <div class="container"> <h2>Shopping list</h2> <div class="user-input"> <input placeholder="Press enter to add new item" v-model="input" @keyup.enter="addItem" ref="input" /><button @click="addItem">Add item</button> </div> </div> </template> <script> export default { data() { return { input: '', shoppingList: [], } }, methods: { addItem() { // Don't allow adding to the list if empty if (!this.input) return this.shoppingList.push(this.input) // Clear the input after adding this.input = '' // Focus the input element again for quick typing! this.$refs.input.focus() }, }, } </script> <style lang="scss"> ... // Buttons button { appearance: none; padding: 10px; font-weight: bold; border-radius: 10px; border: none; background: $color-grey; color: white; white-space: nowrap; + button { margin-left: 10px; } } </style> -
输出 DOM 中的购物清单项目。当您单击 “添加商品” 按钮时,它应该被添加到 shoppingList 并显示:
<template>
    <div class="container">
    ...
    <ul v-if="shoppingList">
        <li v-for="(item, i) in shoppingList" :key="i" class="item"
        ><span>{{ item }}</span>
        </li>
    </ul>
    </div>
</template>

<style lang="scss">
.item {
    display: flex;
    align-items: center;
}
ul {
    display: block;
    margin: 0 auto;
    padding: 30px;
    border: 1px solid rgba(0, 0, 0, 0.25);
    > li {
        color: $color-grey;
        margin-bottom: 4px;
    }
}
</style>
以下屏幕截图显示了购物清单:
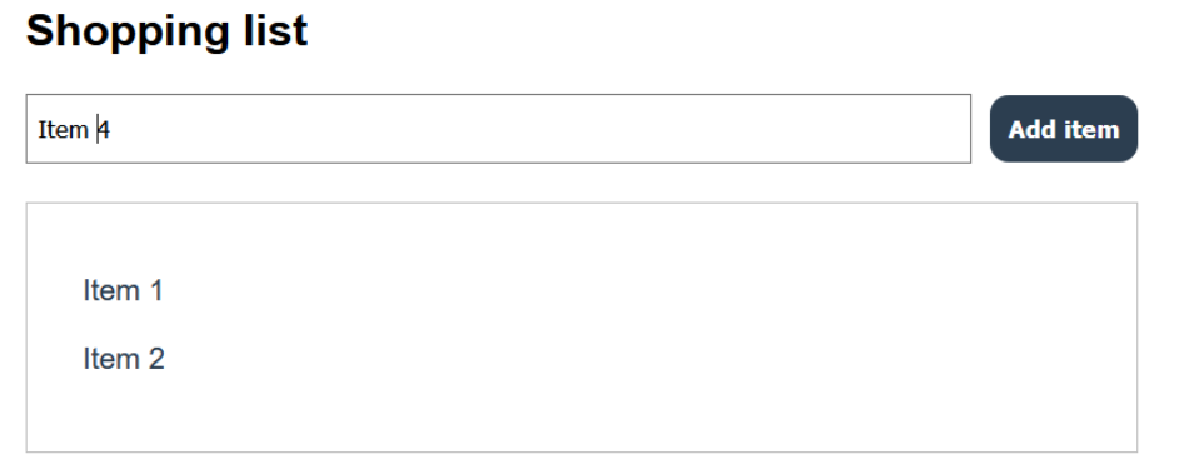 Figure 8. Figure 1.44: The shopping list should be displayed based on user input
 -
为了满足从列表中删除项目的最后一个要求,请创建一个名为 deleteItem 的新方法,并允许传入一个名为 i 的参数。如果有参数传递到该方法中,则过滤掉该数组项并更新 shoppingList 属性;否则用空数组替换 data 属性:
... <script> export default { data() { return { input: '', shoppingList: [], } }, methods: { addItem() { // Don't allow adding to the list if empty if (!this.input) return this.shoppingList.push(this.input) // Clear the input after adding this.input = '' // Focus the input element again for quick typing! this.$refs.input.focus() }, deleteItem(i) { this.shoppingList = i ? this.shoppingList.filter((item, x) => x !== i) : [] }, }, } </script> -
创建一个删除所有按钮元素并使用单击事件 @click 将其绑定到 deleteItem 方法:
<button class="button--delete" @click="deleteItem()"> Delete all</button> ... <style lang="scss"> ... .button--delete { display: block; margin: 0 auto; background: red; } </style> -
在列表循环中添加一个删除按钮,该按钮将通过传入 v-for prop i 来删除单个购物清单项目:
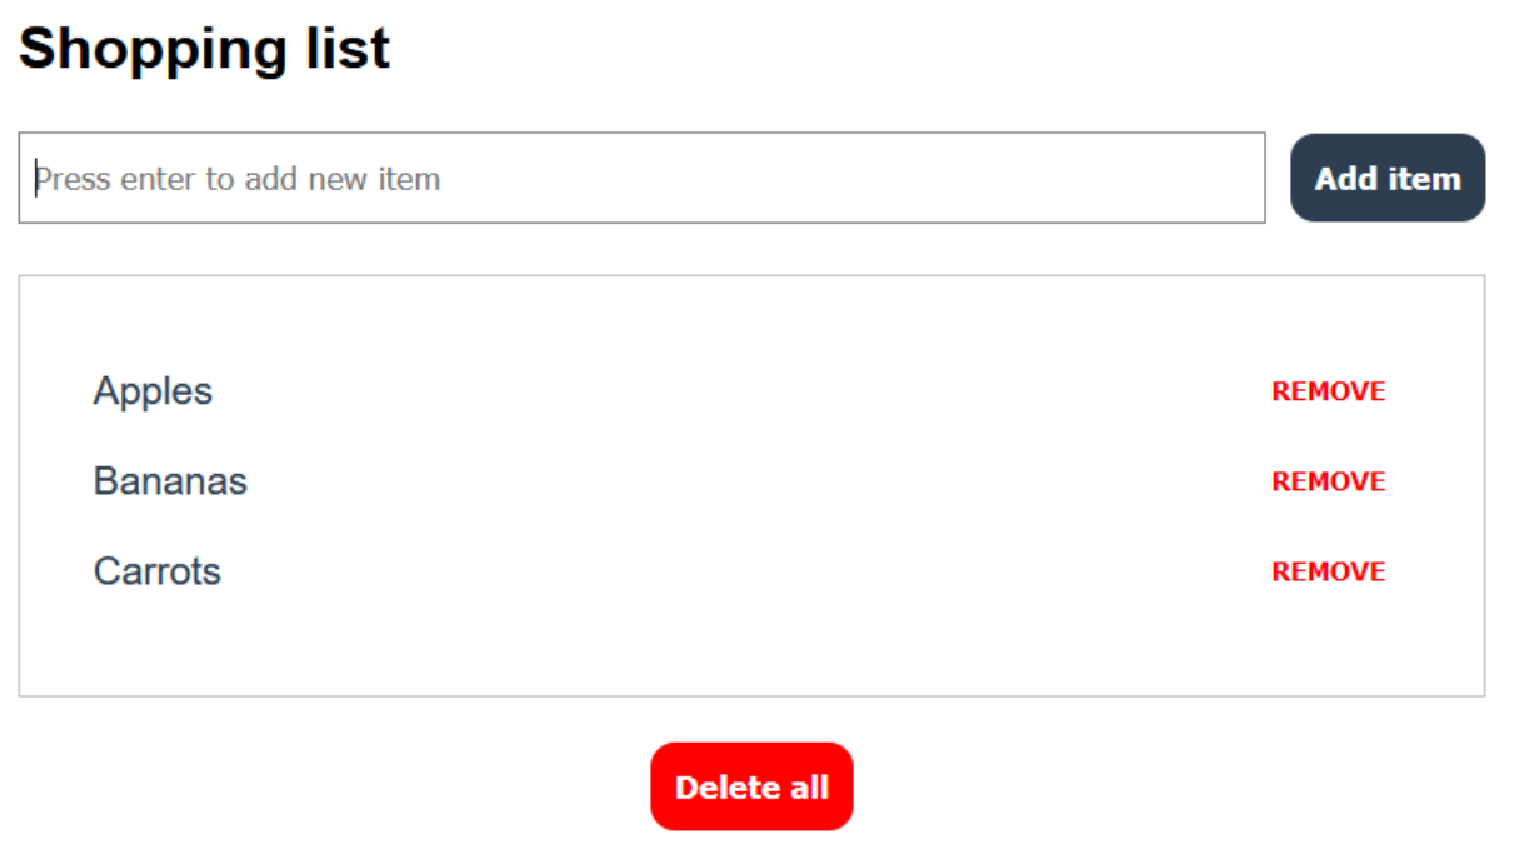
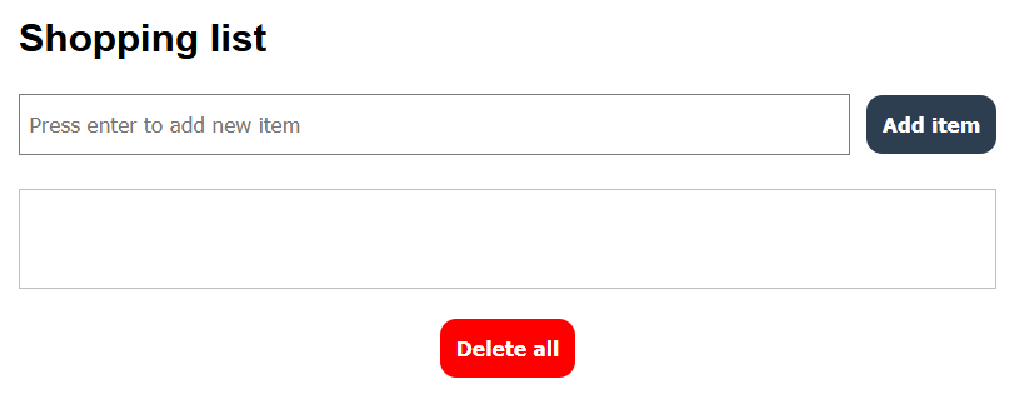
Figure 1.45 displays the final output with all the details for the shopping list before adding the items:<template> <div class="container"> ... <ul v-if="shoppingList"> <li v-for="(item, i) in shoppingList" :key="i" class="item" ><span>{{ item }}</span> <button class="button--remove" @click="deleteItem(i)">Remove</button> </li> </ul> <br /> <button class="button--delete" @click="deleteItem()"> Delete all</button> </div> </template> ... <style lang="scss"> ... .button--remove { background: none; color: red; text-transform: uppercase; font-size: 11px; align-self: flex-end; } </style>
以下屏幕截图显示将商品添加到购物清单后的输出:
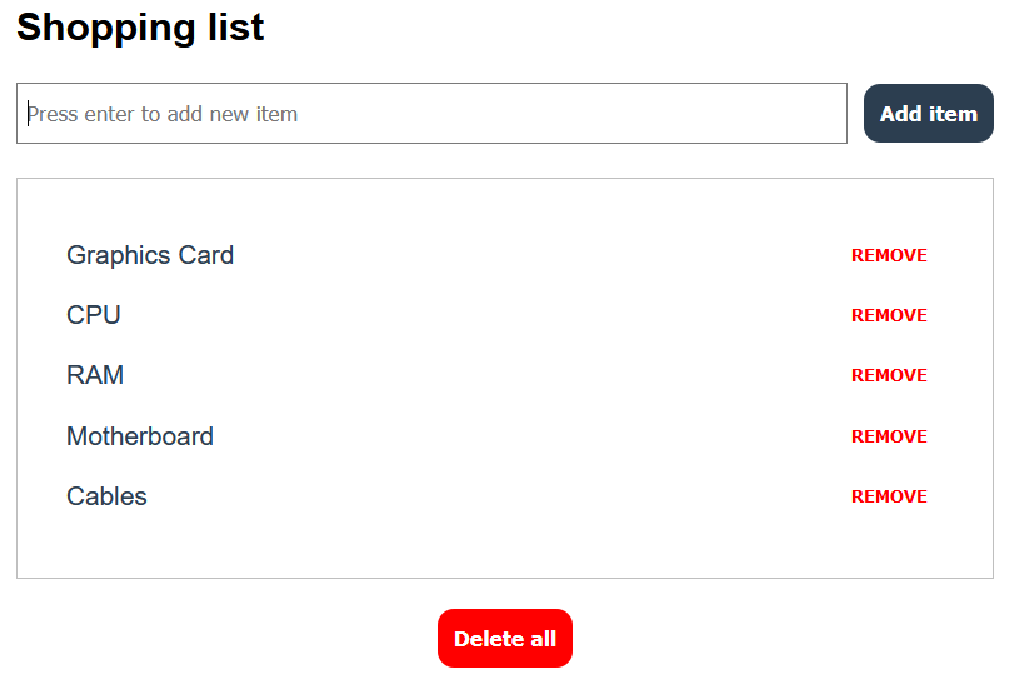
在本活动中,您通过使用 SFC 的所有基本功能(例如表达式、循环、双向绑定和事件处理)来测试您对 Vue 的了解。您构建了一个购物清单应用程序,可以让用户使用 Vue 方法一键添加和删除单个列表项或清除整个列表。