测试 Vue 路由
我们目前有一个应用程序可以渲染我们的博客主页或提要(feed)视图。
接下来,我们应该有帖子页面。为此,我们将使用 Vue Router(如前面的章节所述),并确保我们的路由按照单元测试的设计工作。
Vue Router 使用 npm 安装,具体来说,npm install vue-router ,并将其连接到 main.js 文件中:
// other imports
import router from './router'
// other imports and configuration

new Vue({
    render: h => h(App),
    router,
}).$mount(‹#app›)
router.js 文件使用 Vue.use 向 Vue 注册 vue-router 并实例化一个 VueRouter 实例:
import Vue from 'vue'
import VueRouter from 'vue-router'

Vue.use(VueRouter)

export default new VueRouter({})
没有路由的路由器不是很有用。我们将定义根路径 (/) 以在 router.js 文件中显示 PostList 组件,如下所示:
// other imports
import PostList from './components/PostList.vue'

// registering of Vue router
const routes = [
    {
        path: '/',
        component: PostList
    }
]

export default new VueRouter({
    routes
})
现在我们已经有了初始路由,我们应该更新 App.vue 文件以利用路由器渲染的组件。我们将渲染 render-view 而不是直接使用 PostList。但是,帖子绑定保持不变:
<template>
    <!-- rest of template -->
    <router-view
        :posts="posts"
    />
    <!-- rest of template -->
</template>
现在,我们在 App.vue 文件中的帖子缺少一些渲染 SinglePost 组件的核心数据。我们需要确保具有 slug 和 content 属性,以便在 SinglePost 页面上渲染有用的内容:
<script>
export default {
    data() {
        return {
            posts: [
                {
                    slug: 'vue-react',
                    title: 'Vue.js for React developers',
                    description: 'React has massive popularity here are the key benefits of Vue.js over it.',
                    content: 'React has massive popularity here are the key benefits of Vue.js over it.See the following table, we'll also look at how the is the content of the post.There's more, we can map React concepts to Vue and vice-versa.',
                    tags: ['vue', 'react'],
                },
                {
                    slug: 'vue-angularjs',
                    title: 'Migrating an AngularJS app to Vue.js',
                    description: 'With many breaking changes, AngularJS developers have found it easier to retrain to Vue.js than Angular 2',
                    content: 'With many breaking changes, AngularJS developers have found it easier to retrain to Vue.js than Angular 2 Vue.js keeps the directive-driven templating style while adding a component model. It's performant thanks to a great reactivity engine.',
                     tags: ['vue', 'angularjs']
                }
            ]
        }
    }
}
</script>
我们现在可以开始开发 SinglePost 组件。目前,我们在模板中只包含一些占位符。此外,SinglePost 将接收 posts 作为 prop,因此我们也可以填写它:
<template>
    <div class="flex flex-col w-full md:w-1/2 m-auto">
        <h2 class="font-semibold text-sm mb-4">
            Post: RENDER ME
        </h2>
        <p>Placeholder for post.content</p>
    </div>
</template>

<script>
export default {
    props: {
        posts: {
            type: Array,
            default: () => []
        }
    }
}
</script>
接下来,我们将在 router.js 中使用 /:postId 路径注册 SinglePost(该路径将可供 this.$route.params.postId 下的组件使用):
// other imports
import SinglePost from './components/SinglePost.vue'
// vue router registration

const routes = [
    // other route
    {
        path: '/:postId',
        component: SinglePost
    }
]
// exports and router instantiation
如果我们切换回实现 SinglePost 组件,我们就可以访问 postId,它将映射到 posts 数组中的 slug,并且我们还可以访问 posts,因为它被 App 绑定到 render-view。现在我们可以创建一个计算属性 post,它根据 postId 查找帖子:
<script>
export default {
    // other properties
    computed: {
        post() {
            const { postId } = this.$route.params
            return posts.find(p => p.slug === postId)
        }
    }
}
</script>
从这个计算 post 属性中,如果 post 存在,我们可以提取 title 和 content(我们必须注意不存在的帖子)。因此,仍然在 SinglePost 中,我们可以添加以下计算属性:
<script>
export default {
    // other properties
    computed: {
        // other computed properties
        title() {
            return this.post && this.post.title
        },
        content() {
            return this.post && this.post.content
        }
    }
}
</script>
然后,我们可以将模板中的占位符替换为计算属性的值。所以,我们的模板最终如下:
<template>
    <div class="flex flex-col w-full md:w-1/2 m-auto">
        <h2 class="font-semibold text-sm mb-4">
            Post: {{ title }}
        </h2>
        <p>{{ content }}</p>
    </div>
</template>
最后,我们应该使整个帖子项目成为一个指向 PostListItem.vue 文件中正确的 slug 的 router-link:
<template>
    <router-link
        class="flex flex-col m-auto w-full md:w-3/5 lg:w-2/5 mb-4"
        :to="`/${slug}`"
    >
    <!-- rest of the template -->
    </router-link>
</template>
router-link 是 Vue Router 特定的链接,这意味着在 PostList 页面上,单击帖子列表项后,我们将转到正确的帖子 URL,如以下屏幕截图所示:
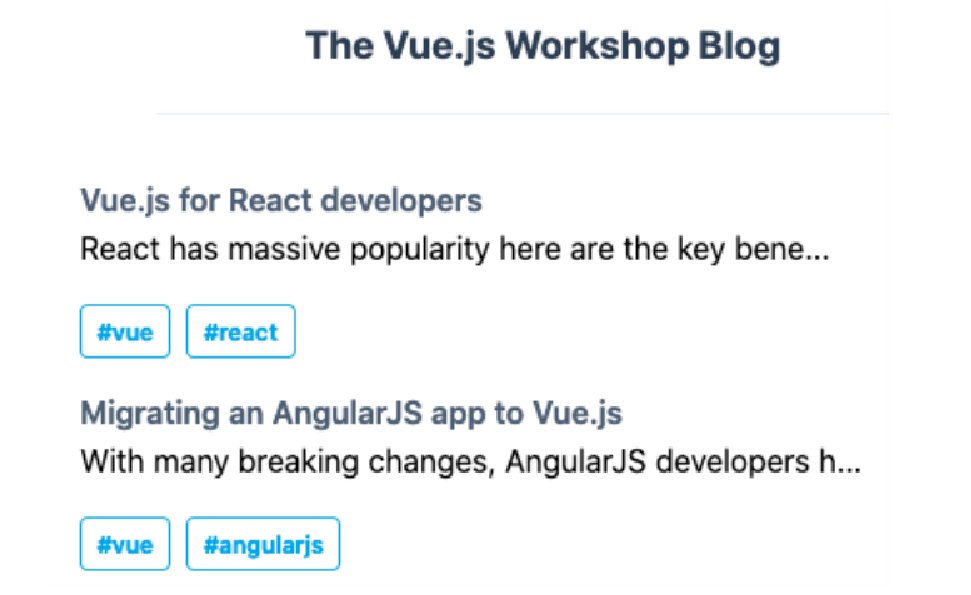
我们将被重定向到正确的 URL,即帖子的 slug,这将通过 slug 渲染正确的帖子,如图 12.19 所示。

为了测试 vue-router,我们将探索一个更适合使用路由和 Vuex 存储测试应用程序的新库,即 Vue 测试库,可以在 npm 上以 @testing-library/vue 的形式访问该库。
我们可以使用 npm install --save-dev @testing-library/vue 来安装它。
为了测试 SinglePost 路由和渲染,我们执行以下操作。首先,我们应该能够通过单击 PostList 视图中的帖子标题来访问 SinglePost 视图。为了做到这一点,我们通过检查内容来检查我们是否位于主页上(我们将看到两个带有标题的帖子)。然后我们单击帖子标题并检查主页中的内容是否已消失并显示帖子内容:
import {render, fireEvent} from '@testing-library/vue'
import App from '../src/App.vue'
import router from '../src/router.js'

test('Router renders single post page when clicking a post title',
async () => {
    const {getByText, queryByText} = render(App, { router })
    expect(queryByText('The Vue.js Workshop Blog')).toBeTruthy()
    expect(queryByText('Vue.js for React developers')).toBeTruthy()
    expect(queryByText('Migrating an AngularJS app to Vue.js')).toBeTruthy()

    await fireEvent.click(getByText('Vue.js for React developers'))
    expect(queryByText('Migrating an AngularJS app to Vue.js')).toBeFalsy()
    expect(queryByText('Post: Vue.js for React developers')).toBeTruthy()
    expect(
        queryByText(
        'React has massive popularity here are the key benefits of Vue.js over it. See the following table, we'll also look at how the is the content of the post. There's more, we can map React concepts to Vue and vice-versa.'
        )
    ).toBeTruthy()
})
我们应该检查直接导航到有效的帖子 URL 是否会产生正确的结果。为了做到这一点,我们将使用 router.replace('/') 清除设置的任何状态,然后使用 router.push() 和 post slug。然后,我们将使用前面代码片段中的断言来验证我们位于 SinglePost 页面,而不是主页:
test('Router renders single post page when a slug is set',
async () => {
const {queryByText} = render(App, { router })
await router.replace('/')
await router.push('/vue-react')
expect(queryByText('Migrating an AngularJS app to Vue.js')).toBeFalsy()
expect(queryByText('Post: Vue.js for React developers')).toBeTruthy()
expect(
queryByText(
'React has massive popularity here are the key benefits of Vue.js over it. See the following table, we'll also look at how the is the content of the post. There's more, we can map React concepts to Vue and vice-versa.'
)
).toBeTruthy()
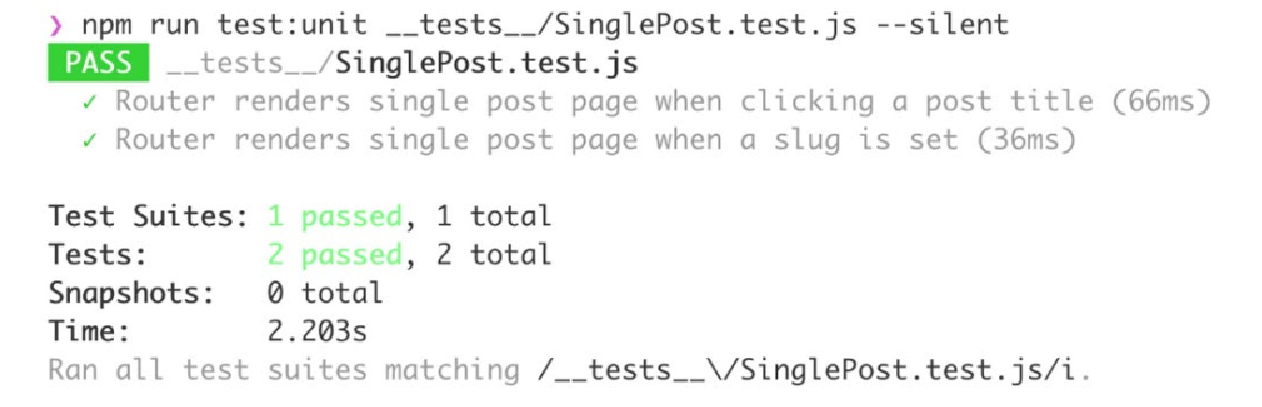
})当使用 npm run test:unit __tests__/SinglePost.test.js 运行时,这两个测试按预期工作。以下屏幕截图显示了所需的输出:
我们现在已经了解了如何使用 Vue.js 测试库来测试使用 vue-router 的应用程序。
练习 12.03:构建标签页并测试其路由
就像我们构建了一个单帖子页面一样,我们现在将构建一个标签页面,它与 PostList 组件类似,只不过只显示带有特定标签的帖子,并且每个帖子都是指向相关单帖子视图的链接。
要访问本练习的代码文件,请参阅 https://packt.live/39cJqZd :
-
我们可以首先在
src/components/TagPage.vue中创建一个新的TagPage组件。我们知道它将接收帖子作为prop,并且我们想要渲染一个PostList组件:<template> <div class="flex flex-col md:w-1/2 m-auto"> <h3 class="font-semibold text-sm text-center mb-6" > #INSERT_TAG_NAME </h3> <PostList :posts="[]" /> </div> </template> <script> import PostList from './PostList' export default { components: { PostList }, props: { posts: { type: Array, default: () => [] } }, } </script> -
接下来,我们要将
TagPage组件连接到src/router.js中的路由器。我们将导入它并将其添加为具有/tags/:tagName路径的routes的一部分:// other imports import TagPage from './components/TagPage.vue' // Vue router registration const routes = [ // other routes { path: '/tags/:tagName', component: TagPage } ] // router instantiation and export -
我们现在可以在计算属性中使用
$route.params.tagName并创建一个tagPosts计算属性,该属性按标签过滤帖子:<script> // imports export default { // rest of component computed: { tagName() { return this.$route.params.tagName }, tagPosts() { return this.posts.filter(p => p.tags.includes(this.tagName)) } } } </script> -
现在我们可以访问
tagPosts和tagName,我们可以替换模板中的占位符。我们将渲染#{{ tagName }}并将tagPosts绑定到PostList的posts属性:<template> <div class="flex flex-col md:w-1/2 m-auto"> <h3 class="font-semibold text-sm text-center mb-6"> #{{ tagName }} </h3> <PostList :posts="tagPosts" /> </div> </template>现在,如果我们导航到
/tags/angularjs,页面将显示如下: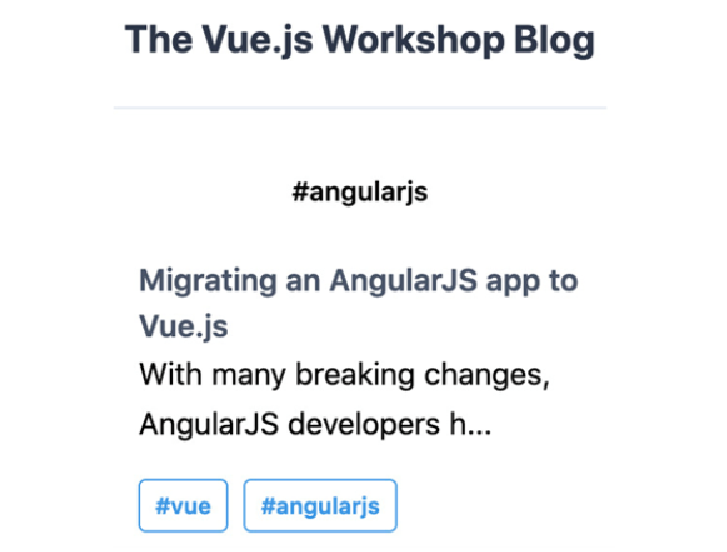 Figure 4. Figure 12.21: Tag page for angularjs
 -
下一步是将
PostListItem中的标签锚点 (a) 转换为指向/tags/${tagName}的 router-link(在src/components/PostListItem.vue中):<template> <!-- rest of template --> <router-link :to="`/tags/${tag}`" v-for="tag in tags" :key="tag" class="flex text-xs font-semibold px-2 py-1 mr-2 rounded border border-blue-500 text-blue-500" > #{{ tag }} </router-link> <!-- rest of template --> </template> -
现在是时候编写一些测试了。我们将首先检查在主页上单击
#angularjs是否会将我们带到angularjs标签页面。我们将在__tests__/TagPage.test.js中编写如下:import {render, fireEvent} from '@testing-library/vue' import App from '../src/App.vue' import router from '../src/router.js' test('Router renders tag page when clicking a tag in the post list item', async () => { const {getByText, queryByText} = render(App, { router }) expect(queryByText('The Vue.js Workshop Blog')).toBeTruthy() expect(queryByText('Vue.js for React developers')).toBeTruthy() expect(queryByText('Migrating an AngularJS app to Vue.js')).toBeTruthy() await fireEvent.click(getByText('#angularjs')) expect(queryByText('Migrating an AngularJS app to Vue.js')).toBeTruthy() expect(queryByText('Vue.js for React developers')).toBeFalsy() expect(queryByText('React')).toBeFalsy() }) -
我们还应该测试直接访问标签 URL 是否按预期工作;也就是说,我们看不到不相关的内容:
// import & other tests
test('Router renders tag page when a URL is set', async () => {
    const {queryByText} = render(App, { router })
    await router.push('/')
    await router.replace('/tags/angularjs')
    expect(queryByText('Migrating an AngularJS app to Vue.js')).toBeTruthy()
    expect(queryByText('Vue.js for React developers')).toBeFalsy()
    expect(queryByText('React')).toBeFalsy()
})
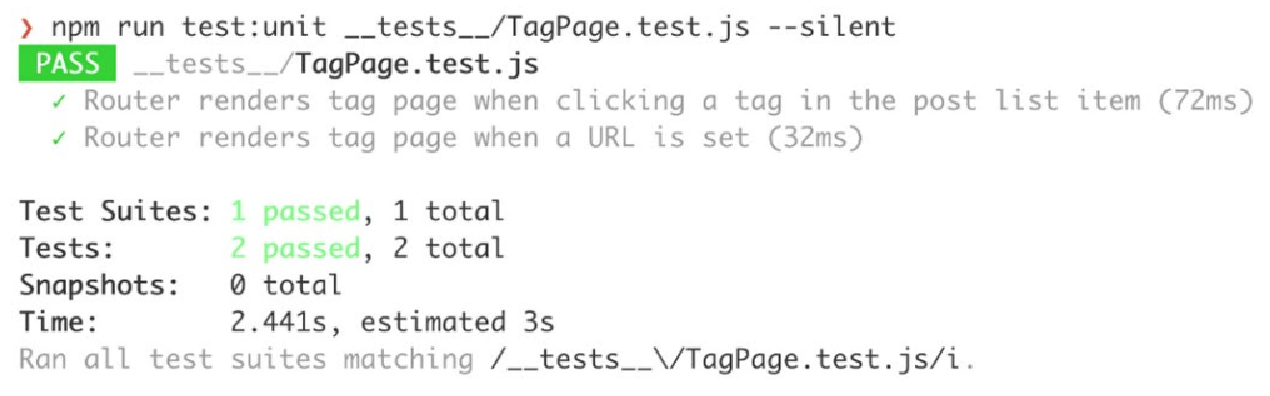
由于应用程序按预期工作,因此测试通过。因此,输出如下:
我们现在已经了解了如何实现和测试包含 vue-router 的应用程序。在下一节中,我们将详细了解如何测试 Vuex。