异步方法和数据获取
JavaScript 中的异步函数由 async function 语法定义,并返回 AsyncFunction 对象。 这些函数通过事件循环异步操作,使用隐式承诺(promise),这是一个将来可能返回结果的对象。Vue.js 使用此 JavaScript 行为,允许您通过在方法前面包含 async 关键字来声明方法内的异步代码块。然后,您可以链接 then() 和 catch() 函数,或者在这些 Vue 方法中尝试使用 {} 语法并返回结果。
Axios 是一个流行的 JavaScript 库,允许您使用 Node.js 发出外部数据请求。它具有广泛的浏览器支持,使其成为执行 HTTP 或 API 请求时的多功能库。我们将在下一个练习中使用这个库。
练习 2.06:使用异步方法从 API 检索数据
在本练习中,您将从外部 API 源异步获取数据并使用计算属性将其显示在前端。
要访问本练习的代码文件,请参阅 https://packt.live/353md9h 。
-
打开命令行终端,导航到 Exercise 2.06 文件夹,然后运行以下命令来安装 axios:
> cd Exercise2.06/ > code . > yarn > yarn add axios > yarn serve -
让我们首先将 axios 导入到我们的组件中并创建一个名为 getApi() 的方法。使用 axios 从 https://api.adviceslip.com/advice 调用响应并 console.log 结果。包含一个按钮,该按钮的单击事件绑定到 getApi() 调用:
<template>
    <div class="container">
        <h1>Async fetch</h1>
        <button @click="getApi()">Learn something profound</button>
    </div>
</template>

<script>
import axios from 'axios'

export default {
    methods: {
        async getApi() {
            return axios.get('https://api.adviceslip.com/advice').then((response) => {
                console.log(response)
            })
        },
    },
}
</script>

<style lang="scss" scoped>
.container {
    margin: 0 auto;
    padding: 30px;
    max-width: 600px;
    font-family: 'Avenir', Helvetica, Arial, sans-serif;
}
blockquote {
    position: relative;
    width: 100%;
    margin: 50px auto;
    padding: 1.2em 30px 1.2em 30px;
    background: #ededed;
    border-left: 8px solid #78c0a8;
    font-size: 24px;
    color: #555555;
    line-height: 1.6;
}
</style>
上述代码的输出如下:
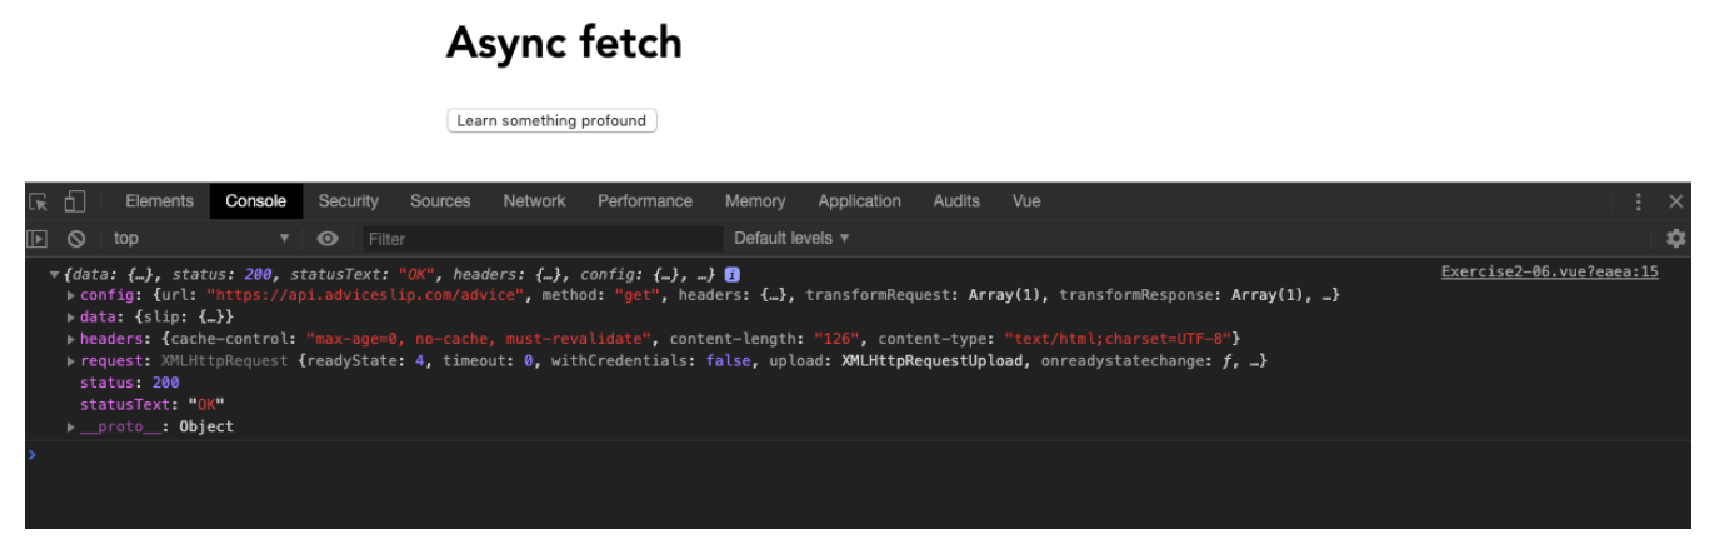 Figure 1. Figure 2.12: Screen displaying a very large object in the console
 -
我们只对响应对象内的数据对象感兴趣。将此数据对象分配给一个名为 response 的 Vue 数据道具,我们可以重用它:
export default { data() { return { axiosResponse: {}, } }, methods: { async getApi() { return axios.get('https://api.adviceslip.com/advice'). then(response => { this.axiosResponse = response.data }) }, }, } -
使用计算属性从响应属性对象内部输出 quote,该计算属性将在每次响应属性更改时更新。使用三元运算符执行条件语句来检查 response 属性是否包含 slip 对象以避免错误:
<template>
    <div class="container">
        <h1>Async fetch</h1>
        <button @click="getApi()">Learn something profound</button>
        <blockquote v-if="quote">{{ quote }}</blockquote>
    </div>
</template>

<script>
import axios from 'axios'

export default {
    data() {
        return {
            axiosResponse: {},
        }
    },
    computed: {
        quote() {
            return this.axiosResponse && this.axiosResponse.slip ? this.axiosResponse.slip.advice : null
        },
    },
    methods: {
        async getApi() {
            return axios.get('https://api.adviceslip.com/advice').then(response => {
                this.axiosResponse = response.data
            })
        },
    },
}
</script>
图 2.13 显示了上述代码生成的输出:
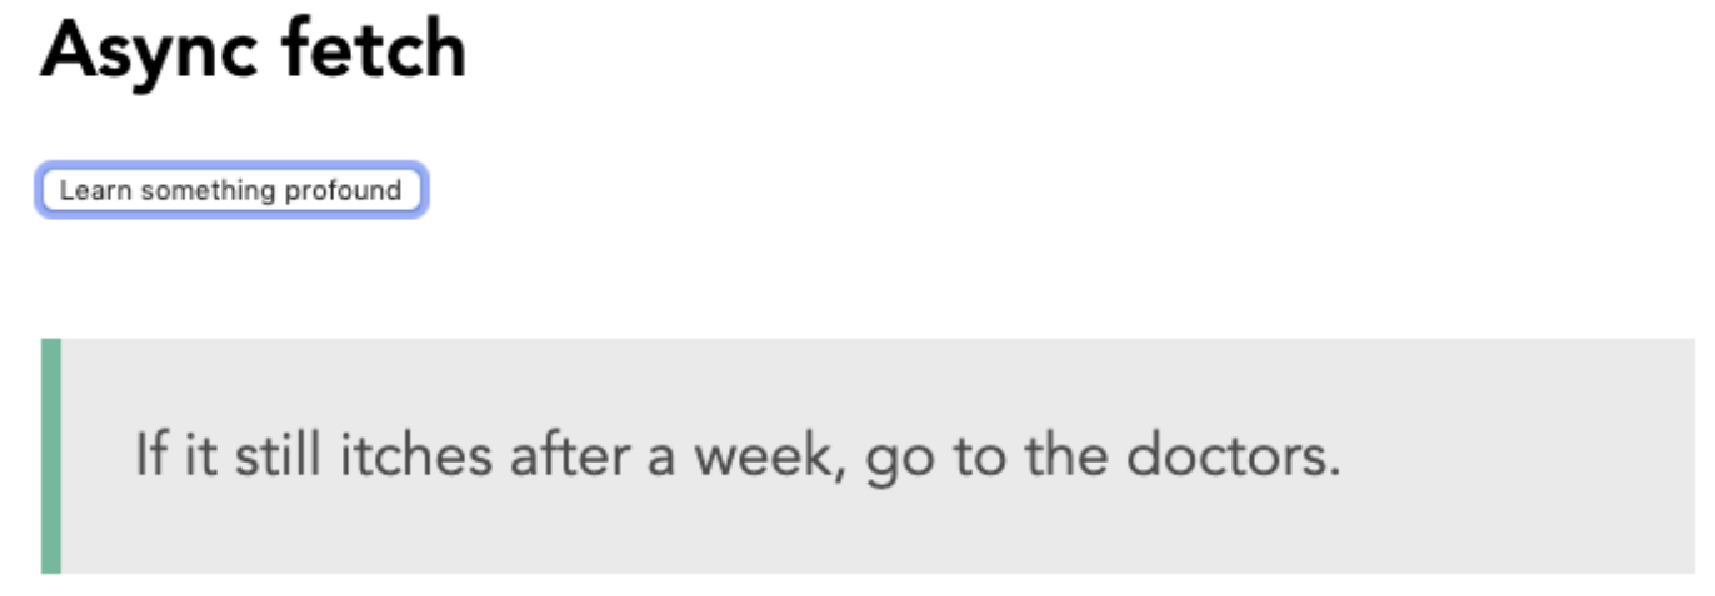 Figure 2. Figure 2.13: Screen displaying the quote output in your template
 -
最后,添加一个 loading 数据属性,以便用户可以看到 UI 何时加载。默认情况下将 loading 设置为 false。在 getApi 方法内,将 loading 设置为 true,并在 then() 链中,使用 setTimeout 函数在 4 秒后将其设置回 false。您可以使用三元运算符在加载状态和默认状态之间更改按钮文本:
<template>
    <div class="container">
        <h1>Async fetch</h1>
        <button @click="getApi()">{{
        loading ? 'Loading...' : 'Learn something profound'
        }}</button>
        <blockquote v-if="quote">{{ quote }}</blockquote>
    </div>
</template>

<script>
import axios from 'axios'

export default {
    data() {
        return {
            loading: false,
            axiosResponse: {},
        }
    },
    computed: {
        quote() {
            return this.axiosResponse && this.axiosResponse.slip ? this.axiosResponse.slip.advice : null
        },
    },
    methods: {
        async getApi() {
            this.loading = true
            return axios.get('https://api.adviceslip.com/advice').then(response => {
                this.axiosResponse = response.data
                setTimeout(() => {
                    this.loading = false
                }, 4000);
            })
        },
    },
}
</script>
上述代码的输出如下:
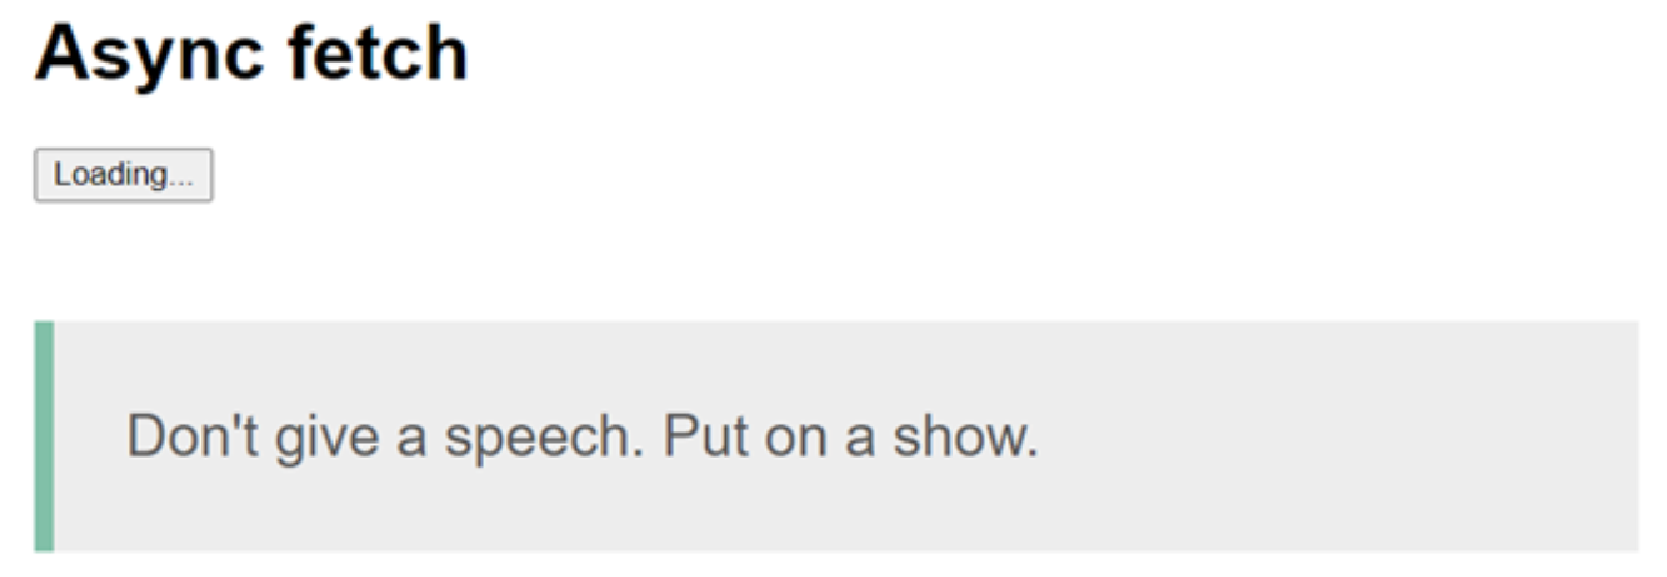 Figure 3. Figure 2.14: Screen displaying the loading button state output in your template
在本练习中,我们了解了如何从外部源获取数据,将其分配给计算属性,在模板中显示它,并将加载状态应用于我们的内容。
活动 2.01:使用 Contentful API 创建博客列表
在此活动中,我们将构建一个博客,列出来自 API 源的文章。 这将通过使用单文件组件 (SFC) 的所有基本功能和异步方法从 API 获取远程数据并使用计算属性来组织深层嵌套对象结构来测试您对 Vue 的了解。
Contentful 是一个无头内容管理系统 (CMS),允许您将内容单独管理到代码存储库。 您可以根据需要使用任意数量的代码存储库中的 API 使用此内容。 例如,您可能有一个博客网站作为主要信息来源,但您的客户希望在不同的域上有一个独立页面,仅提取最新的特色文章。 使用无头 CMS 本质上允许您开发这两个独立的代码库并使用相同的更新数据源。
此活动将使用无头 CMS Contentful。 访问密钥和端点将在解决方案中列出。
以下步骤将帮助您完成该活动:
-
使用 Vue CLI 创建一个使用 babel 预设的新项目。
-
将 contentful 依赖项安装到您的项目中。
-
使用计算属性从 API 响应中输出深度嵌套的数据。
-
使用数据属性输出用户的姓名(name)、职位(job title)和描述(description)。
-
使用 SCSS 设置页面样式。
预期结果如下:
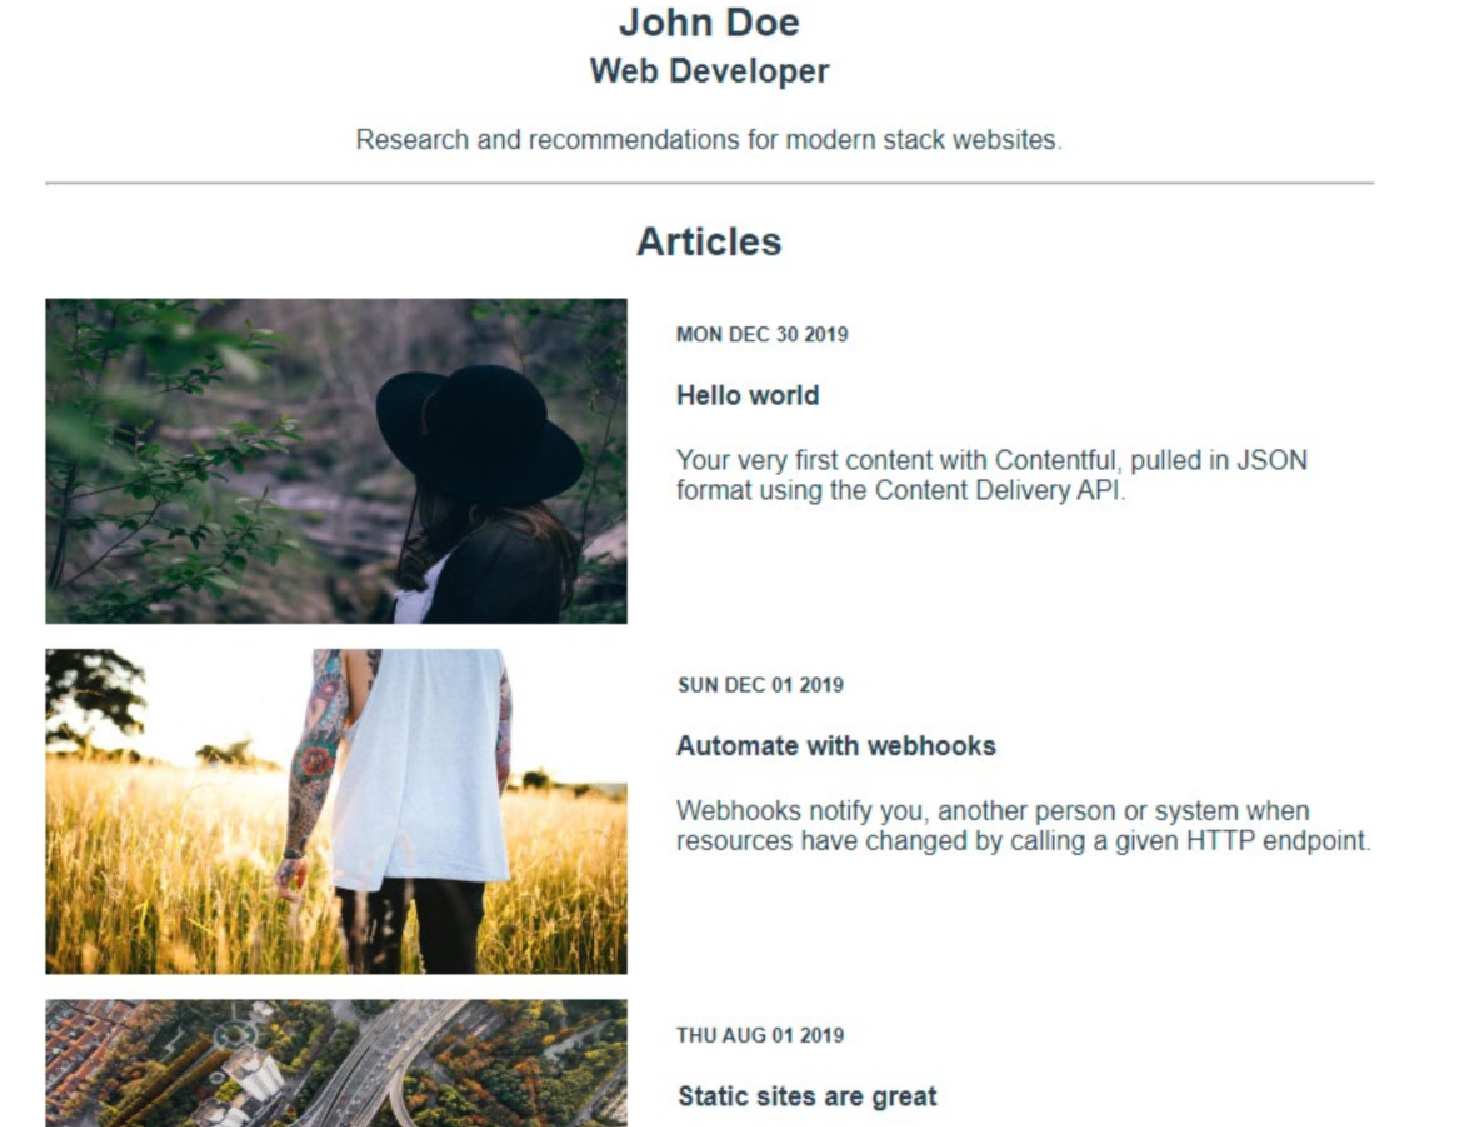
活动完成后,您应该能够使用异步(async)方法将远程数据从 API 源提取到 Vue 组件中。您会发现计算属性是一种将信息分解为更小的可重用数据块的复杂方法。
解决:
执行以下步骤来完成该活动。
|
要访问此活动的代码文件,请参阅 https://packt.live/33ao1f5 。 |
-
使用 Vue CLI
vue create Activity命令创建一个新的 Vue 项目,并选择以下预设:Babel、SCSS 预处理器(您可以选择其中一个预处理器)和 prettier 格式化程序。 -
添加 contentful 依赖
yarn add contentful -
在 App.vue 中,删除默认内容并将
contentful导入到组件中:<template> <div id=»app»></div> </template> <script> import { createClient } from 'contentful' const client = createClient({ space: ‹hpr0uushokd4›, accessToken: ‹jwEHepvQx-kMtO7_2ldjhE4WMAsiDp3t1xxBT8aDp7U›, }) </script> <style lang="scss"> #app { font-family: ‹Avenir›, Helvetica, Arial, sans-serif; -webkit-font-smoothing: antialiased; -moz-osx-font-smoothing: grayscale; text-align: center; color: #2c3e50; margin: 60px auto 0; max-width: 800px; } </style> -
在 created 的生命周期上向
getPeople和getBlogPosts添加异步(async)方法,并将调用的响应分别分配给模板中的authors和posts数据 props:<template> <div id=»app»> <pre>{{ authors }}</pre> <pre>{{ posts }}</pre> </div> </template> <script> import { createClient } from 'contentful' const client = createClient({ space: ‹hpr0uushokd4›, accessToken: ‹jwEHepvQx-kMtO7_2ldjhE4WMAsiDp3t1xxBT8aDp7U›, }) export default { name: ‹app›, data() { return { authors: [], posts: {}, } }, async created() { this.authors = await this.getPeople() this.posts = await this.getBlogPosts() }, methods: { async getPeople() { const entries = await client.getEntries({ content_type: 'person' }) return entries.items }, async getBlogPosts() { const entries = await client.getEntries({ content_type: ‹blogPost›, order: ‹-fields.publishDate›, }) return entries.items }, }, } </script> -
使用
posts对象循环访问文章,并输出publishDate、title、description和image:
<div class=»articles»>
<hr />
<h2>Articles</h2>
<section v-if=»posts» class=»articles-list»>
    <article v-for=»(post, i) in posts» :key=»i»>
        <img
        class=»thumbnail»
        :src=»
        post.fields.heroImage.fields.file.url +
        '?fit=scale&w=350&h=196'
        «/>
        class=»article-text»>
        <div class="date">{{
        new Date(post.fields.publishDate).toDateString()
        }}</div>
        <h4>{{ post.fields.title }}</h4>
        <p>{{ post.fields.description }}</p>
        </div>
    </article>
</section>
</div>
未完成