你的第一个测试
为了说明在 Vue CLI 项目中开始自动化单元测试是多么快速和容易,我们将从使用 Jest、@vue-testutils 设置和编写单元测试开始。有一个官方的 Vue CLI 包可用于生成一个设置,其中包括使用 Jest 和 vue-test-utils 进行单元测试。应在使用 Vue CLI 设置的项目中运行以下命令:
vue add @vue/unit-jestVue CLI 添加了 Jest 作为测试运行器、@vue/test-utils(Vue.js 官方测试工具)和 vue-jest(Jest 中 .vue 单文件组件文件的处理器)。它添加了一个 test:unit 脚本。
默认情况下,它会创建一个 tests/unit 文件夹,我们将删除该文件夹。相反,我们可以创建一个 __tests__ 文件夹,并创建一个 App.test.js 文件,如下所示。
我们将使用 shallowMount 渲染应用程序,并测试它是否能显示正确的文本。在本示例中,我们将使用以下文本:"The Vue.js Workshop Blog"
shallowMount 会进行浅层渲染(shallow render),这意味着只渲染组件的顶层;所有子组件都会被存根化。这对于隔离测试组件非常有用,因为子组件的实现不会被运行:
import { shallowMount } from '@vue/test-utils'
import App from '../src/App.vue'
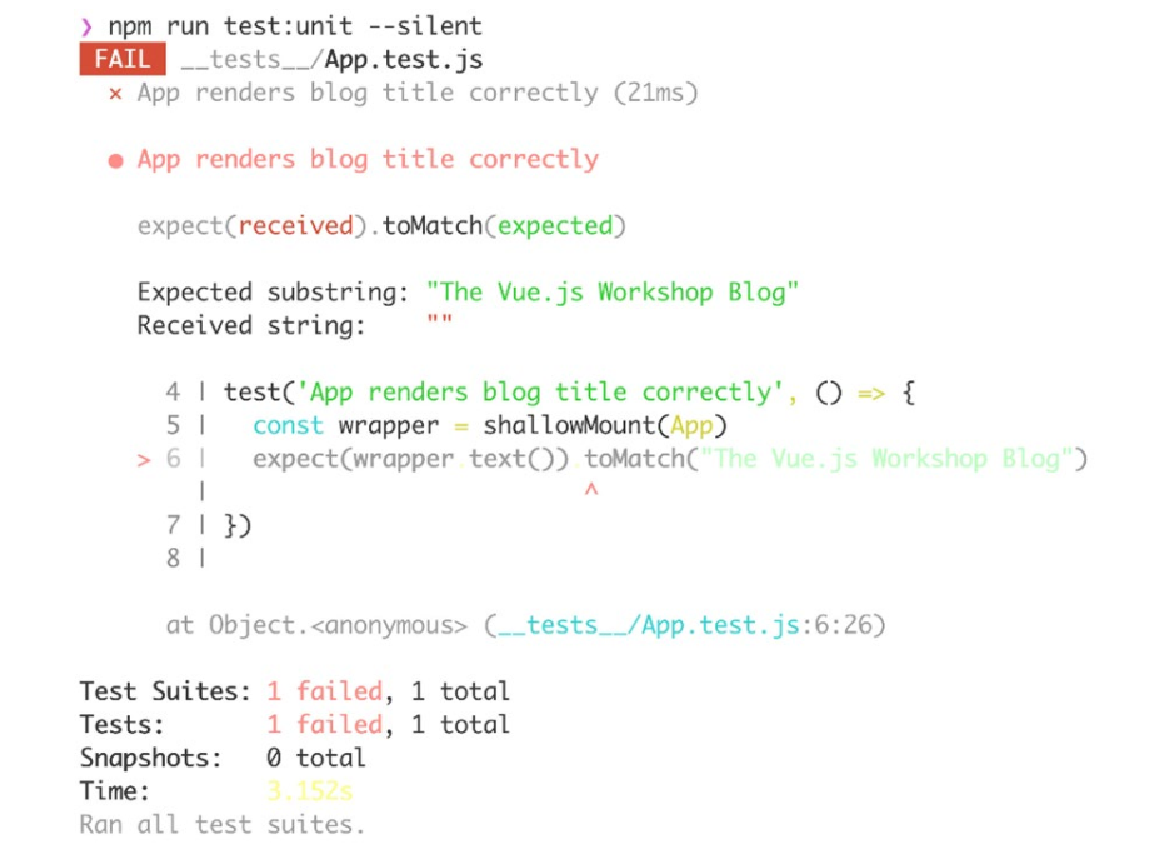
test('App renders blog title correctly', () => {
const wrapper = shallowMount(App)
expect(wrapper.text()).toMatch("The Vue.js Workshop Blog")
})当我们运行 npm run test:unit 时,此测试将失败,因为我们的 App 组件中没有 The Vue.js Workshop Blog:
为了让测试通过,我们可以在 App.vue 文件中实现我们的博客标题:
<template>
    <div id="app" class="p-10">
        <div class="flex flex-col">
            <h2
            class="leading-loose pb-4 flex justify-center m-auto
            md:w-1/3 text-xl mb-8 font-bold text-gray-800 border-b"
            >
                The Vue.js Workshop Blog
            </h2>
        </div>
    </div>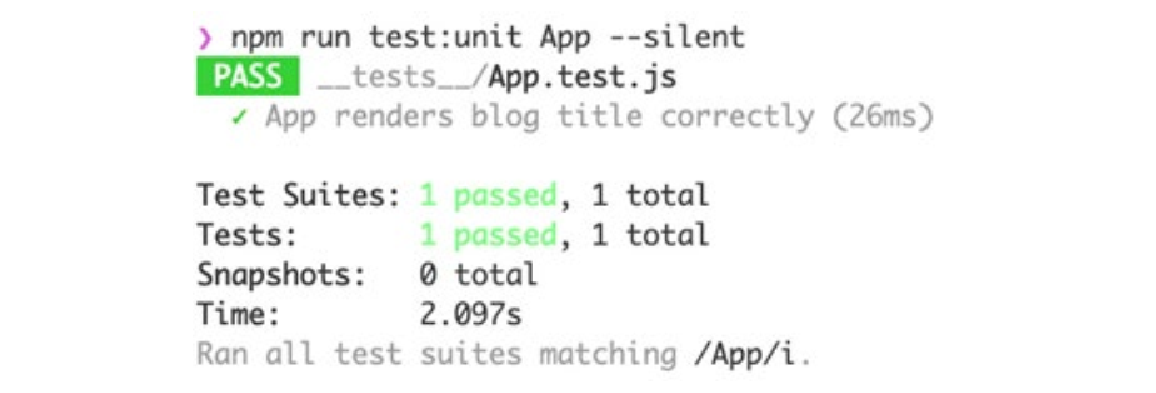
</template>现在我们已经有了正确的标题,npm run test:unit 将通过:
我们还可以检查它在浏览器中是否按预期渲染:
The Vue.js Workshop Blog您刚刚完成了第一个 TDD。这个过程是从编写一个失败的测试开始的。在此失败之后,对被测代码(在本例中为 App.vue 组件)进行了更新,从而使失败的测试通过。TDD 过程让我们确信我们的功能已经过正确测试,因为当我们更新驱动功能的代码时,我们可以看到测试在通过之前就失败了。